SlideWright LLC
SlideWright Wood Ski Centering Tool & Calipers
SlideWright Wood Ski Centering Tool & Calipers
Couldn't load pickup availability
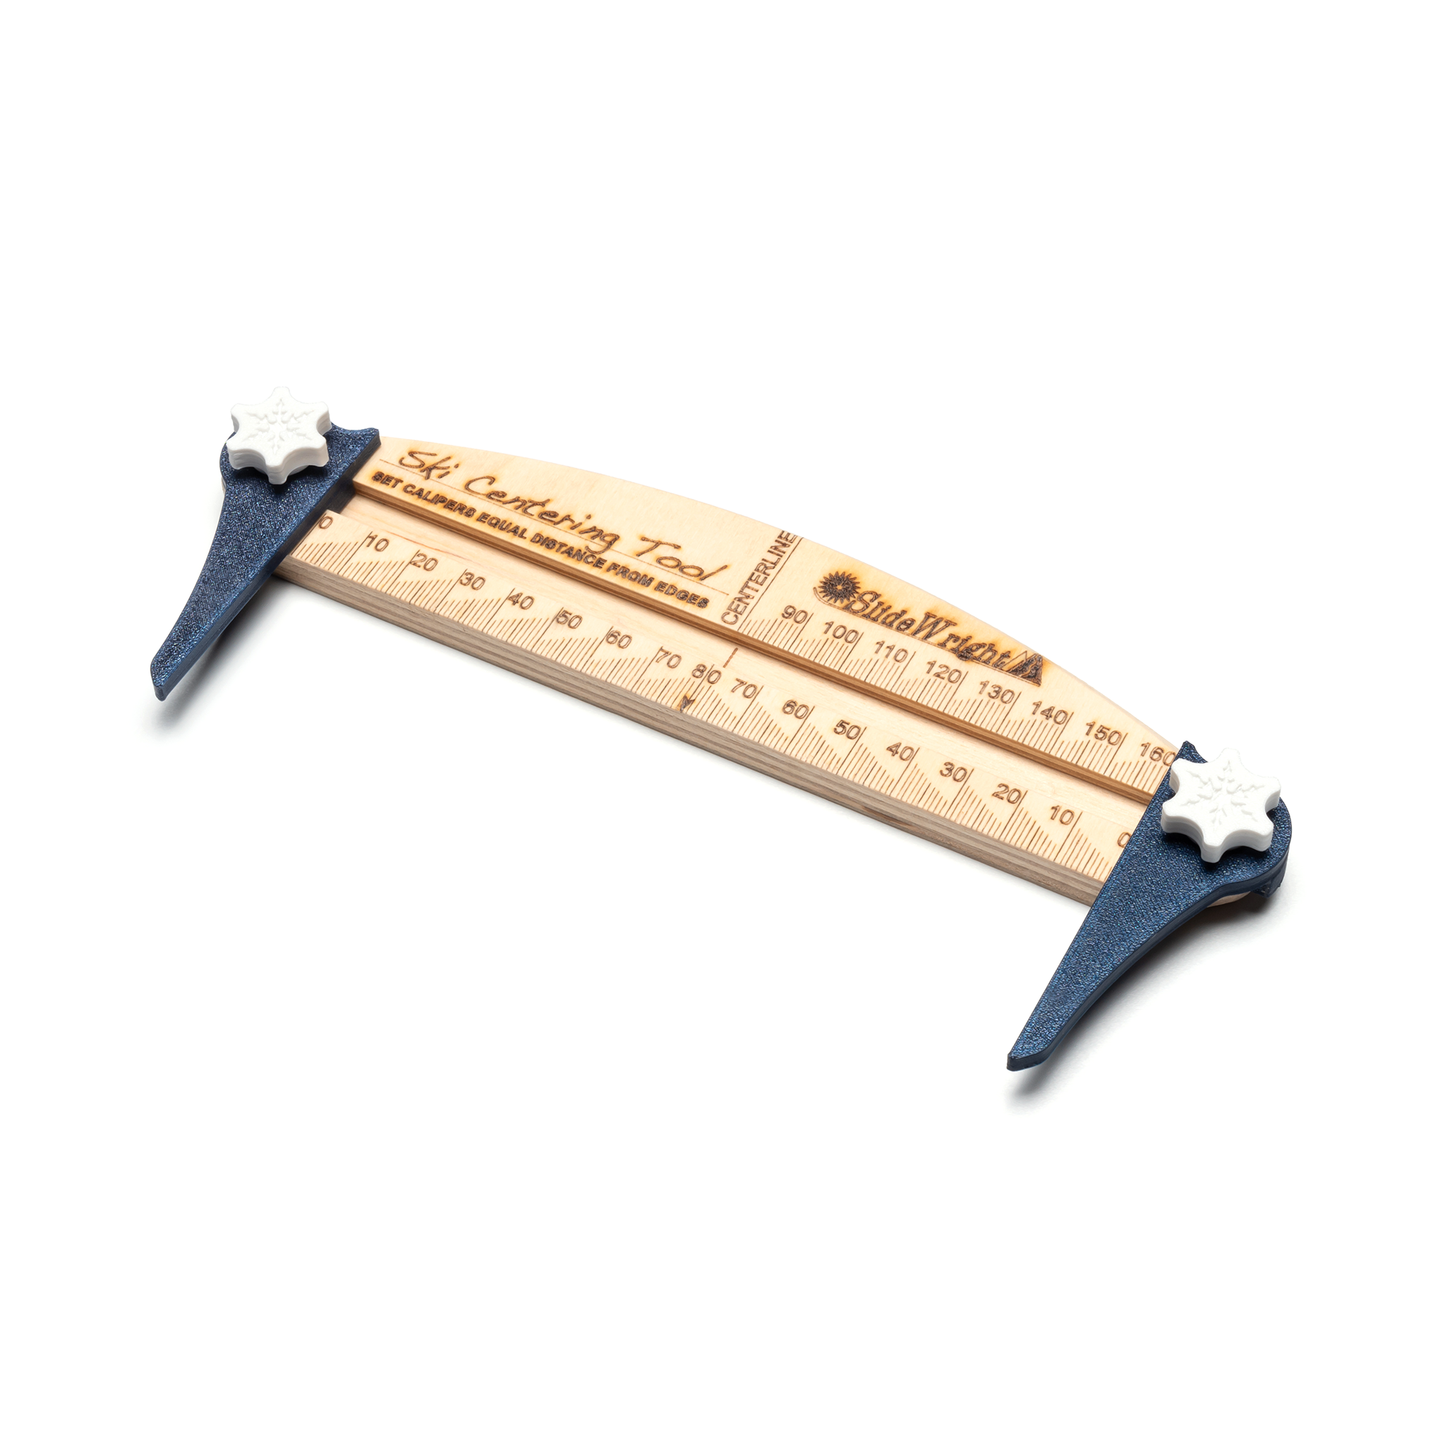
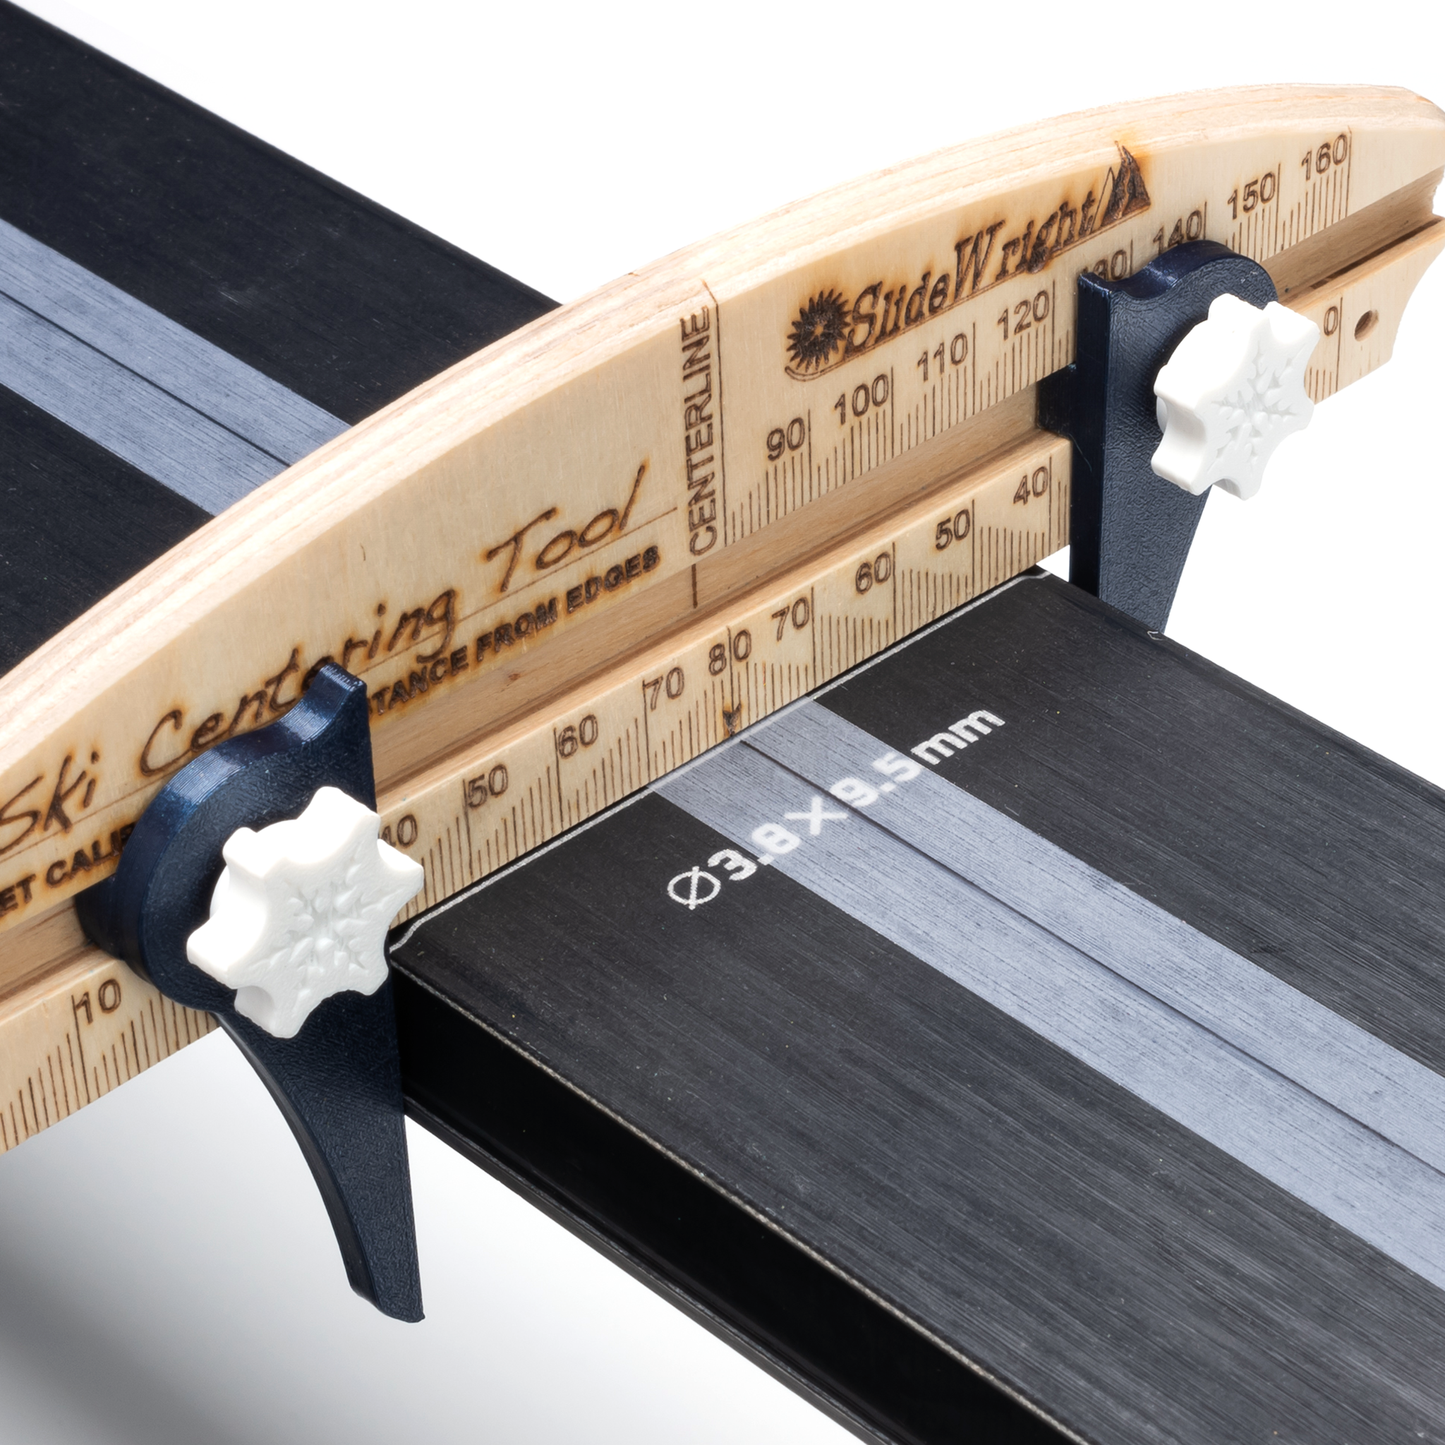
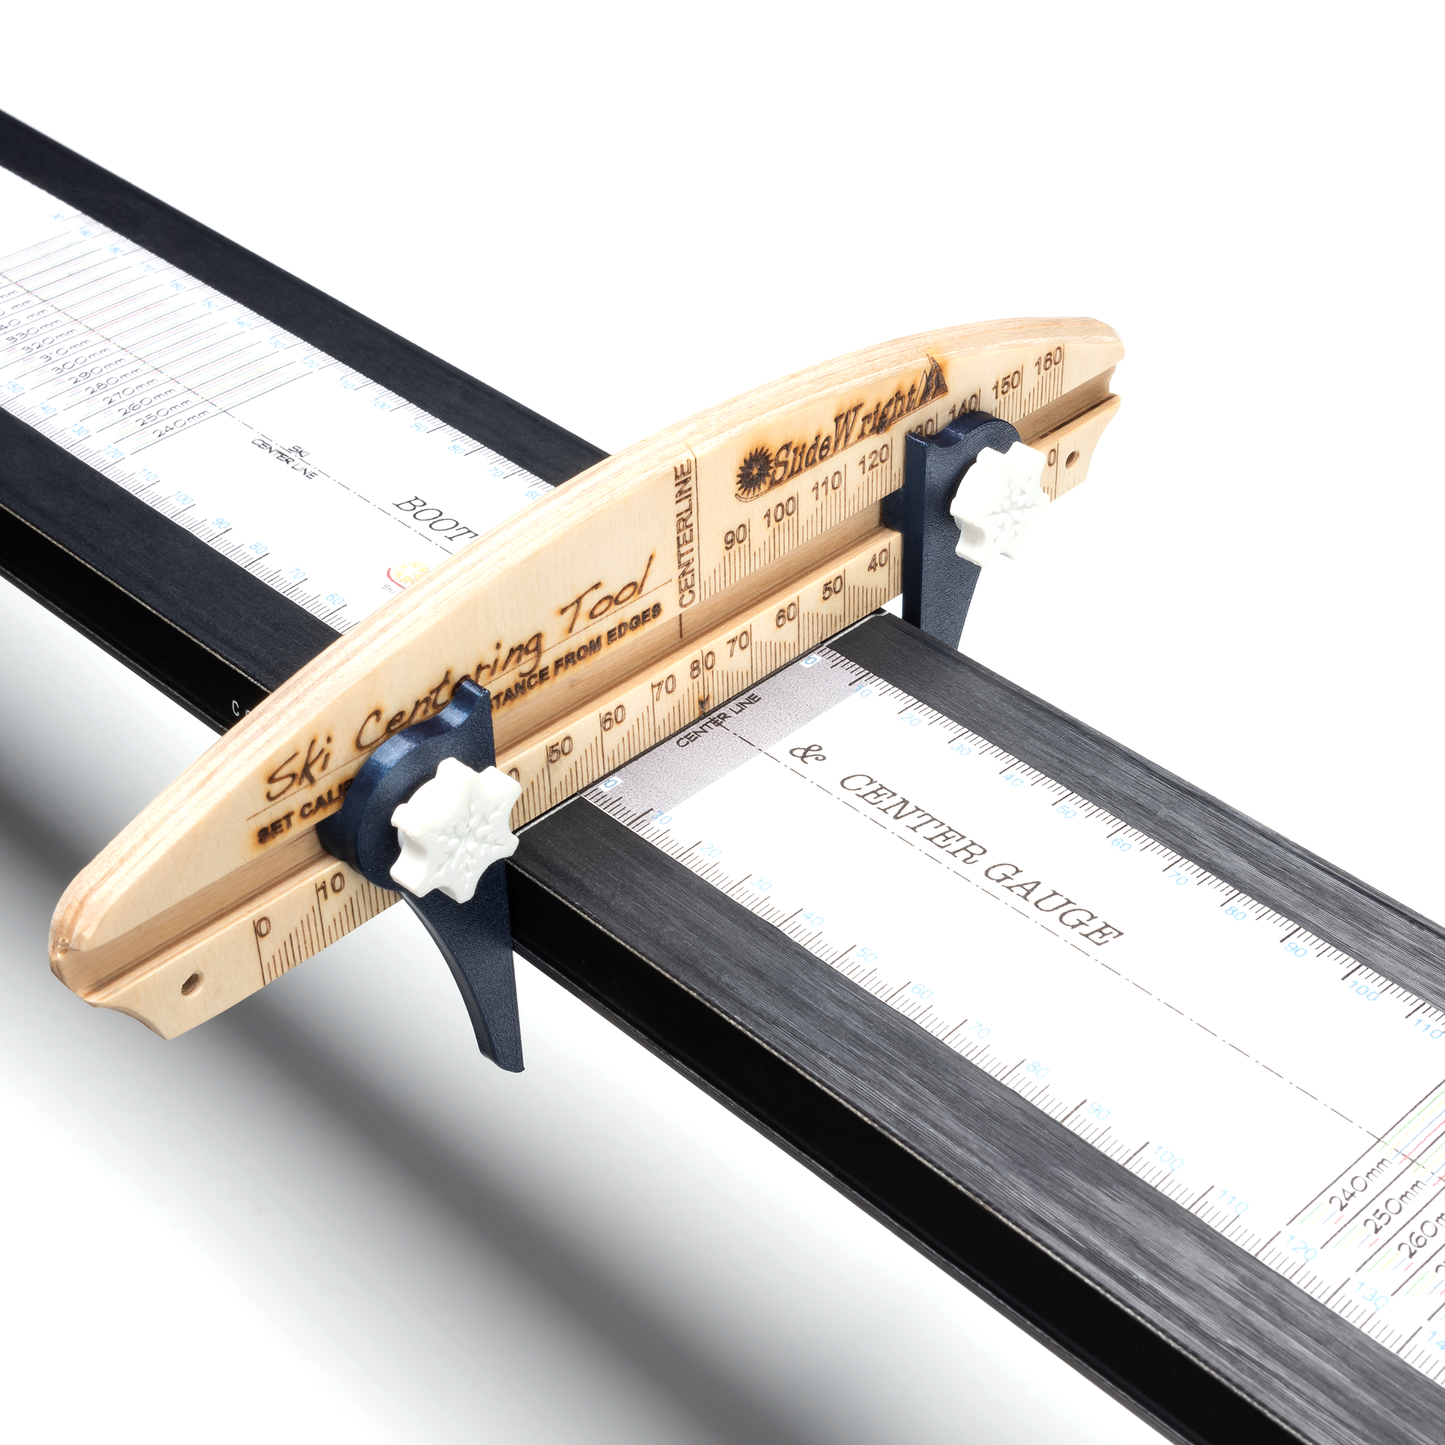
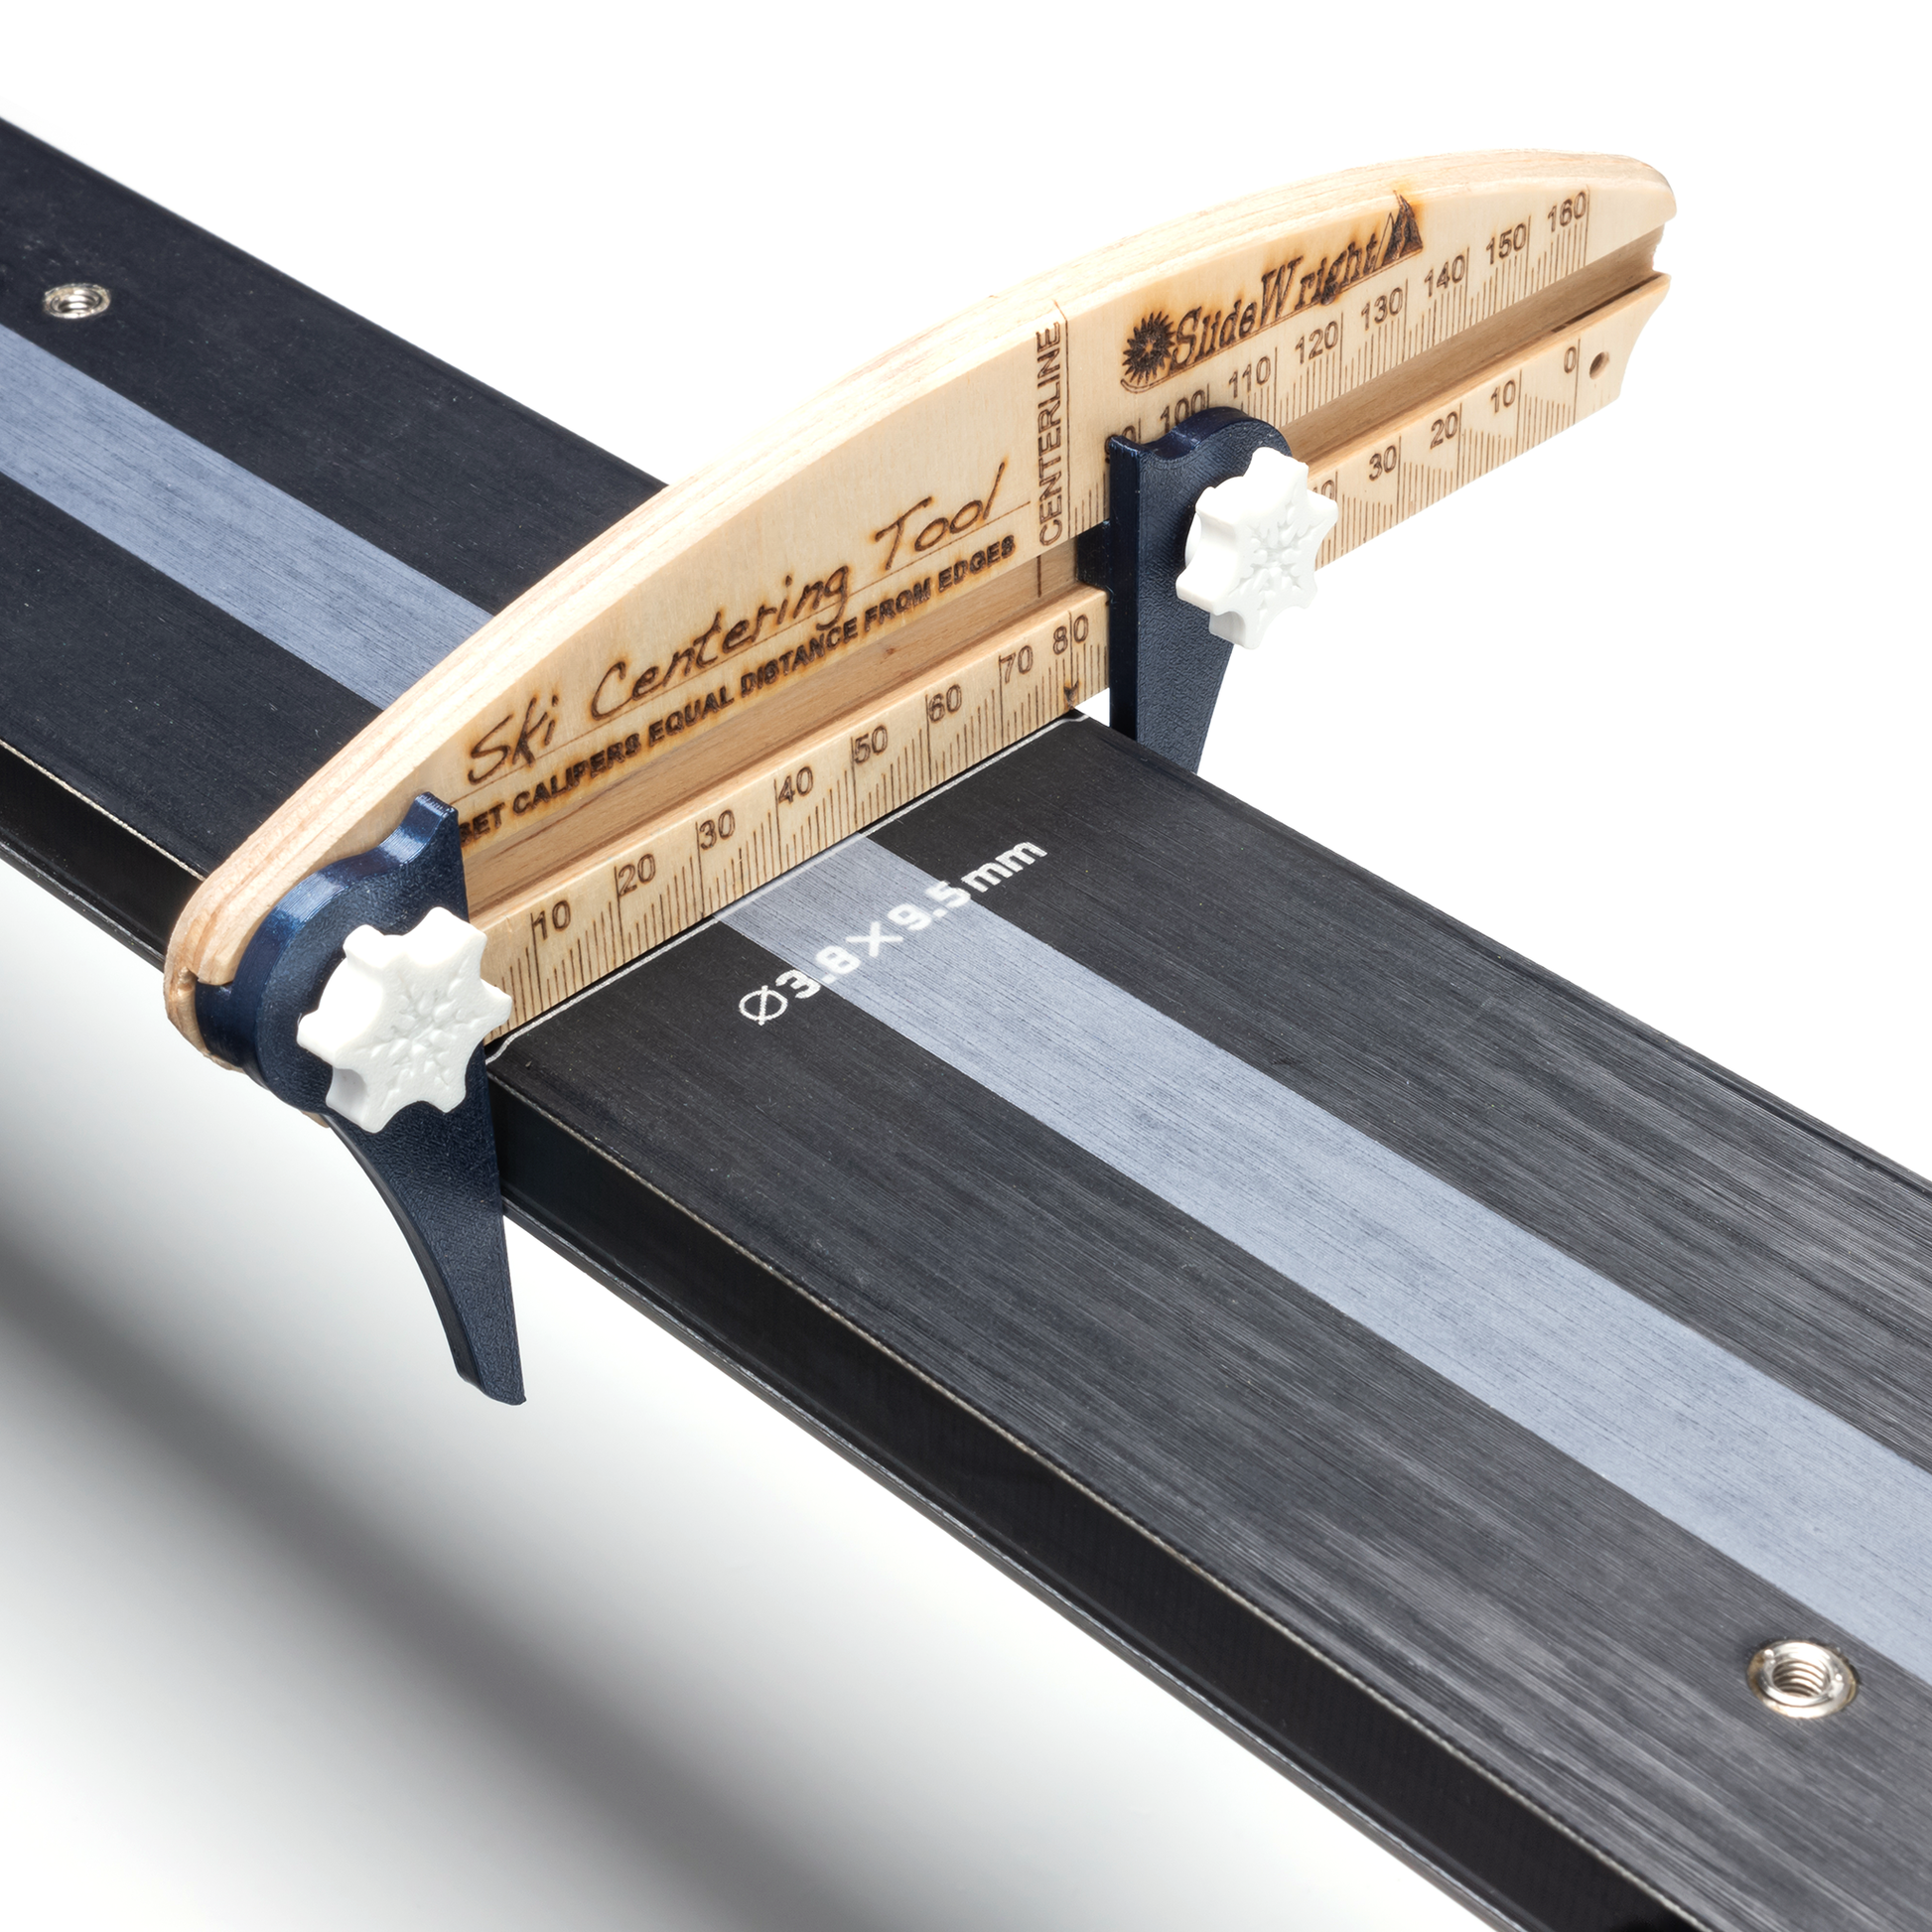
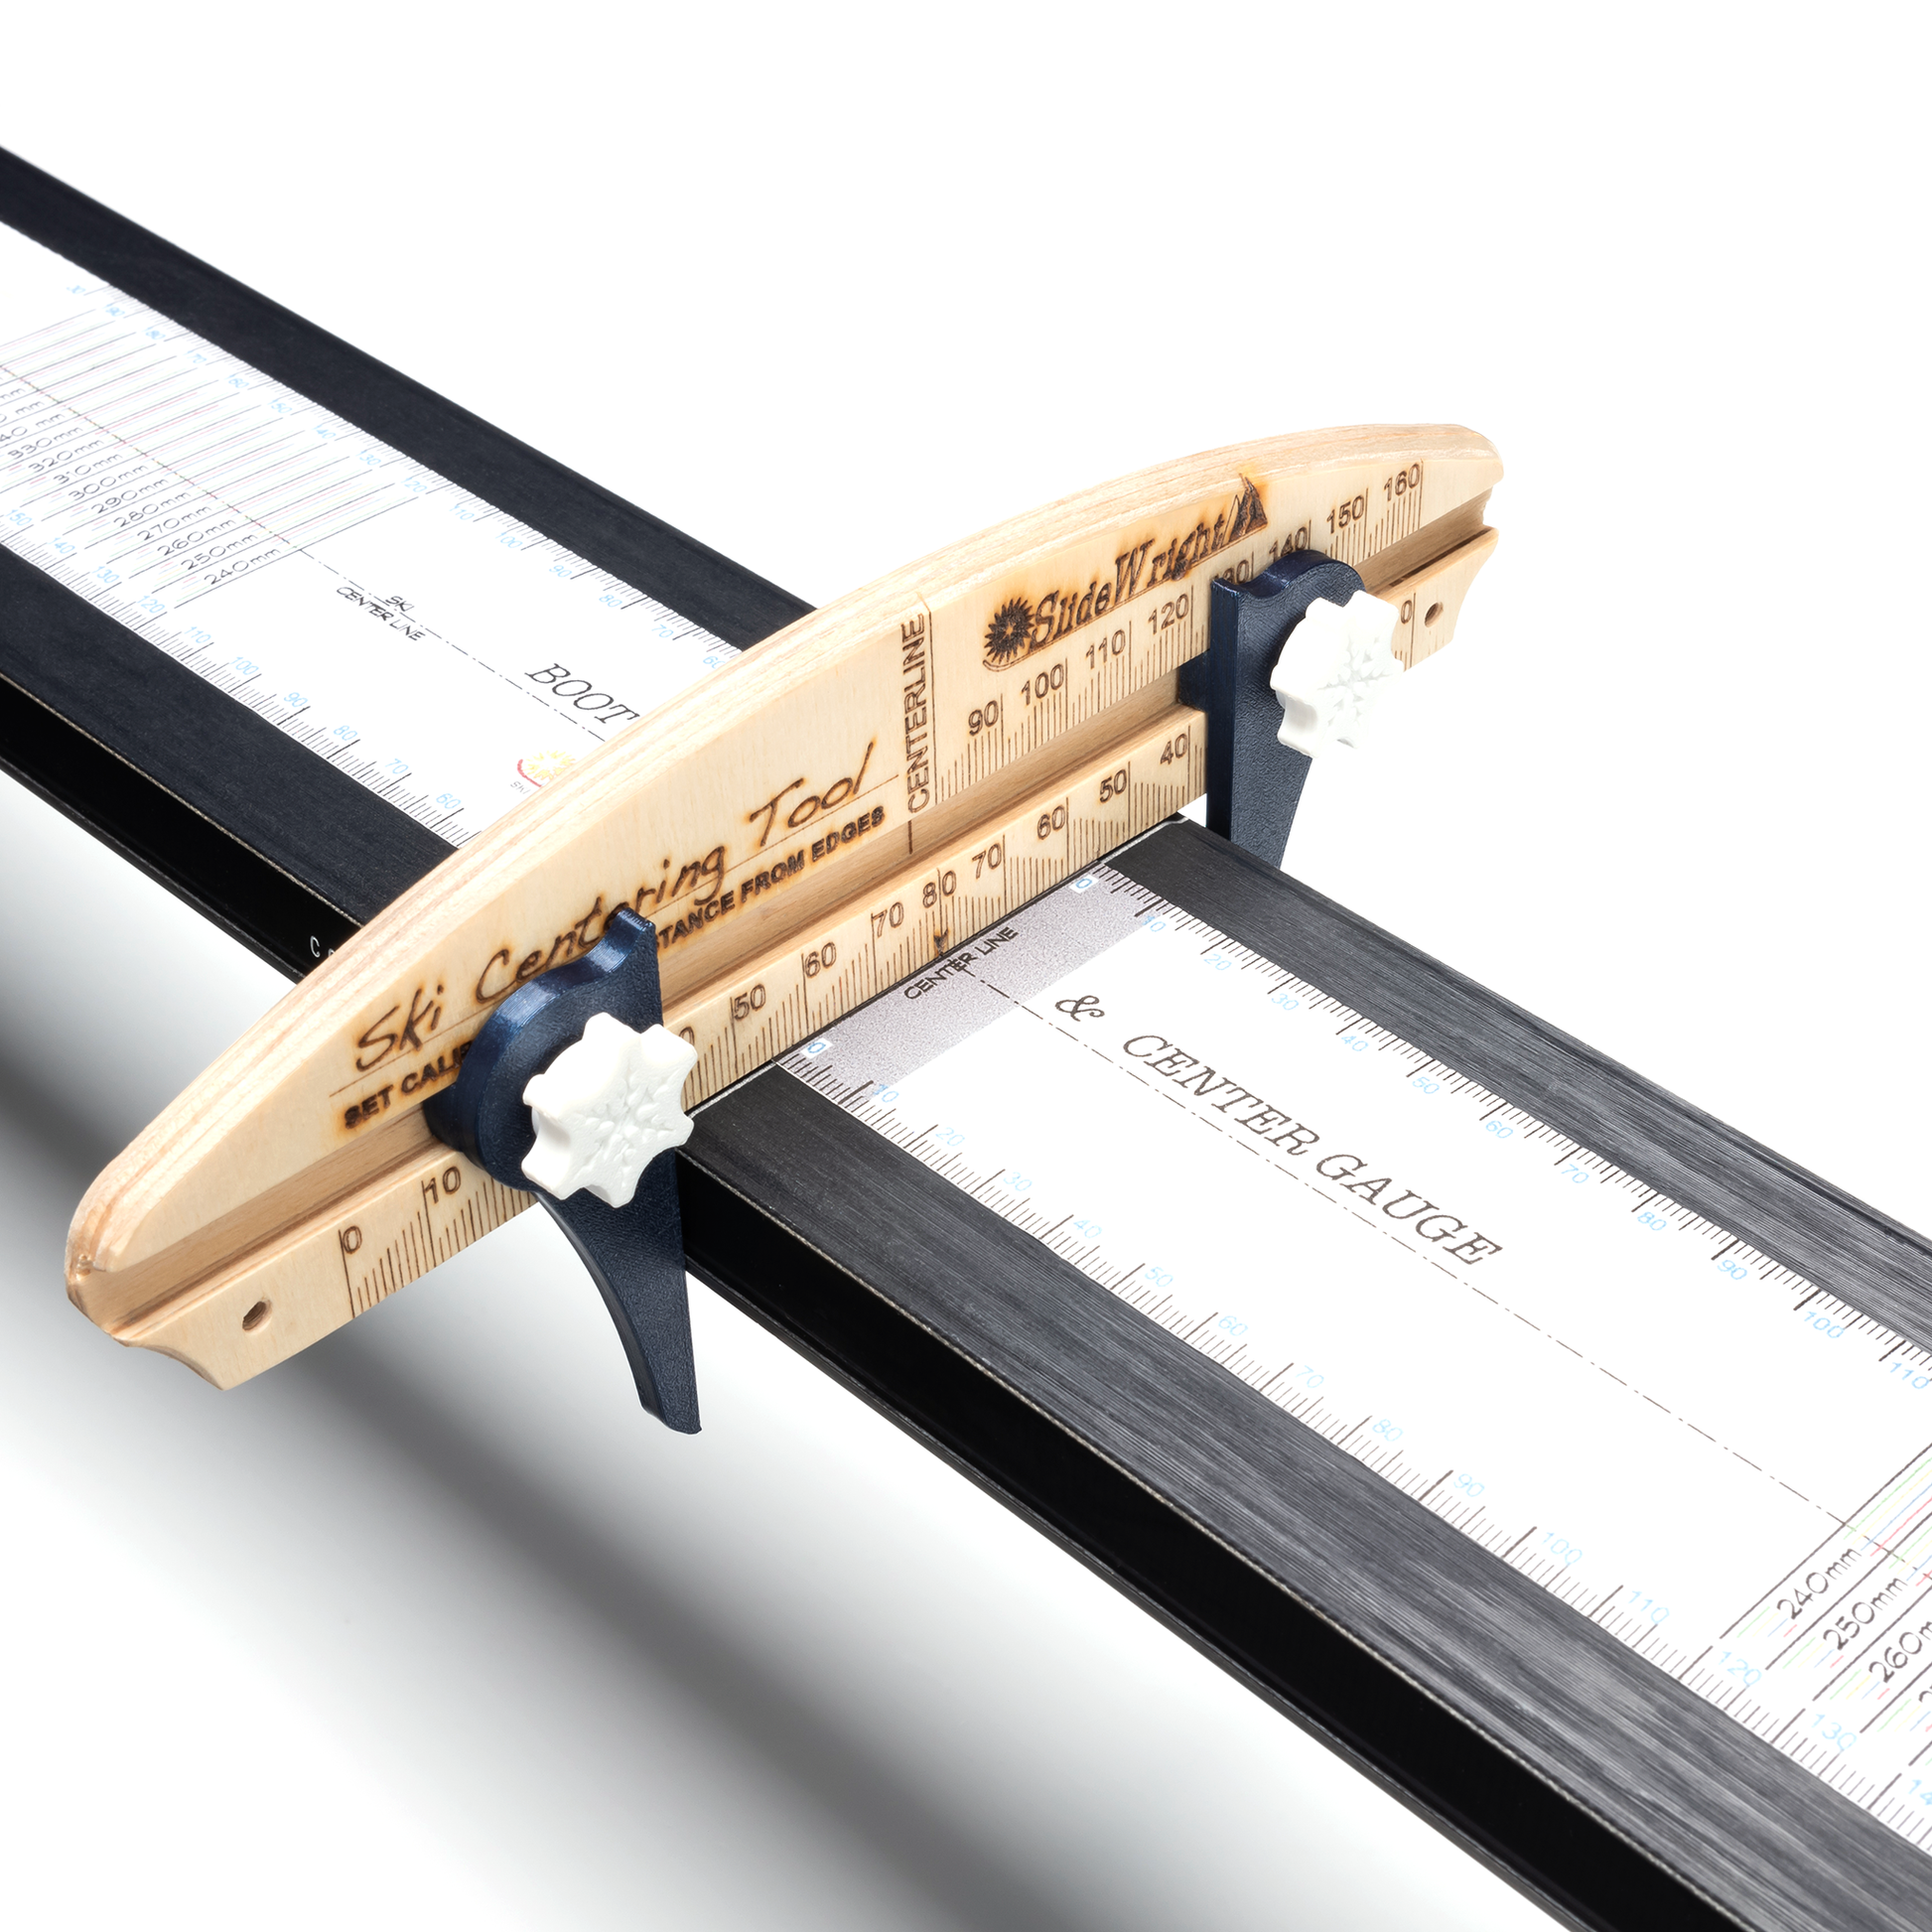
The SlideWright Wood Ski Centering Tool & Calipers allows you to quickly and easily determine the true center of your skis for accurate binding mounting.
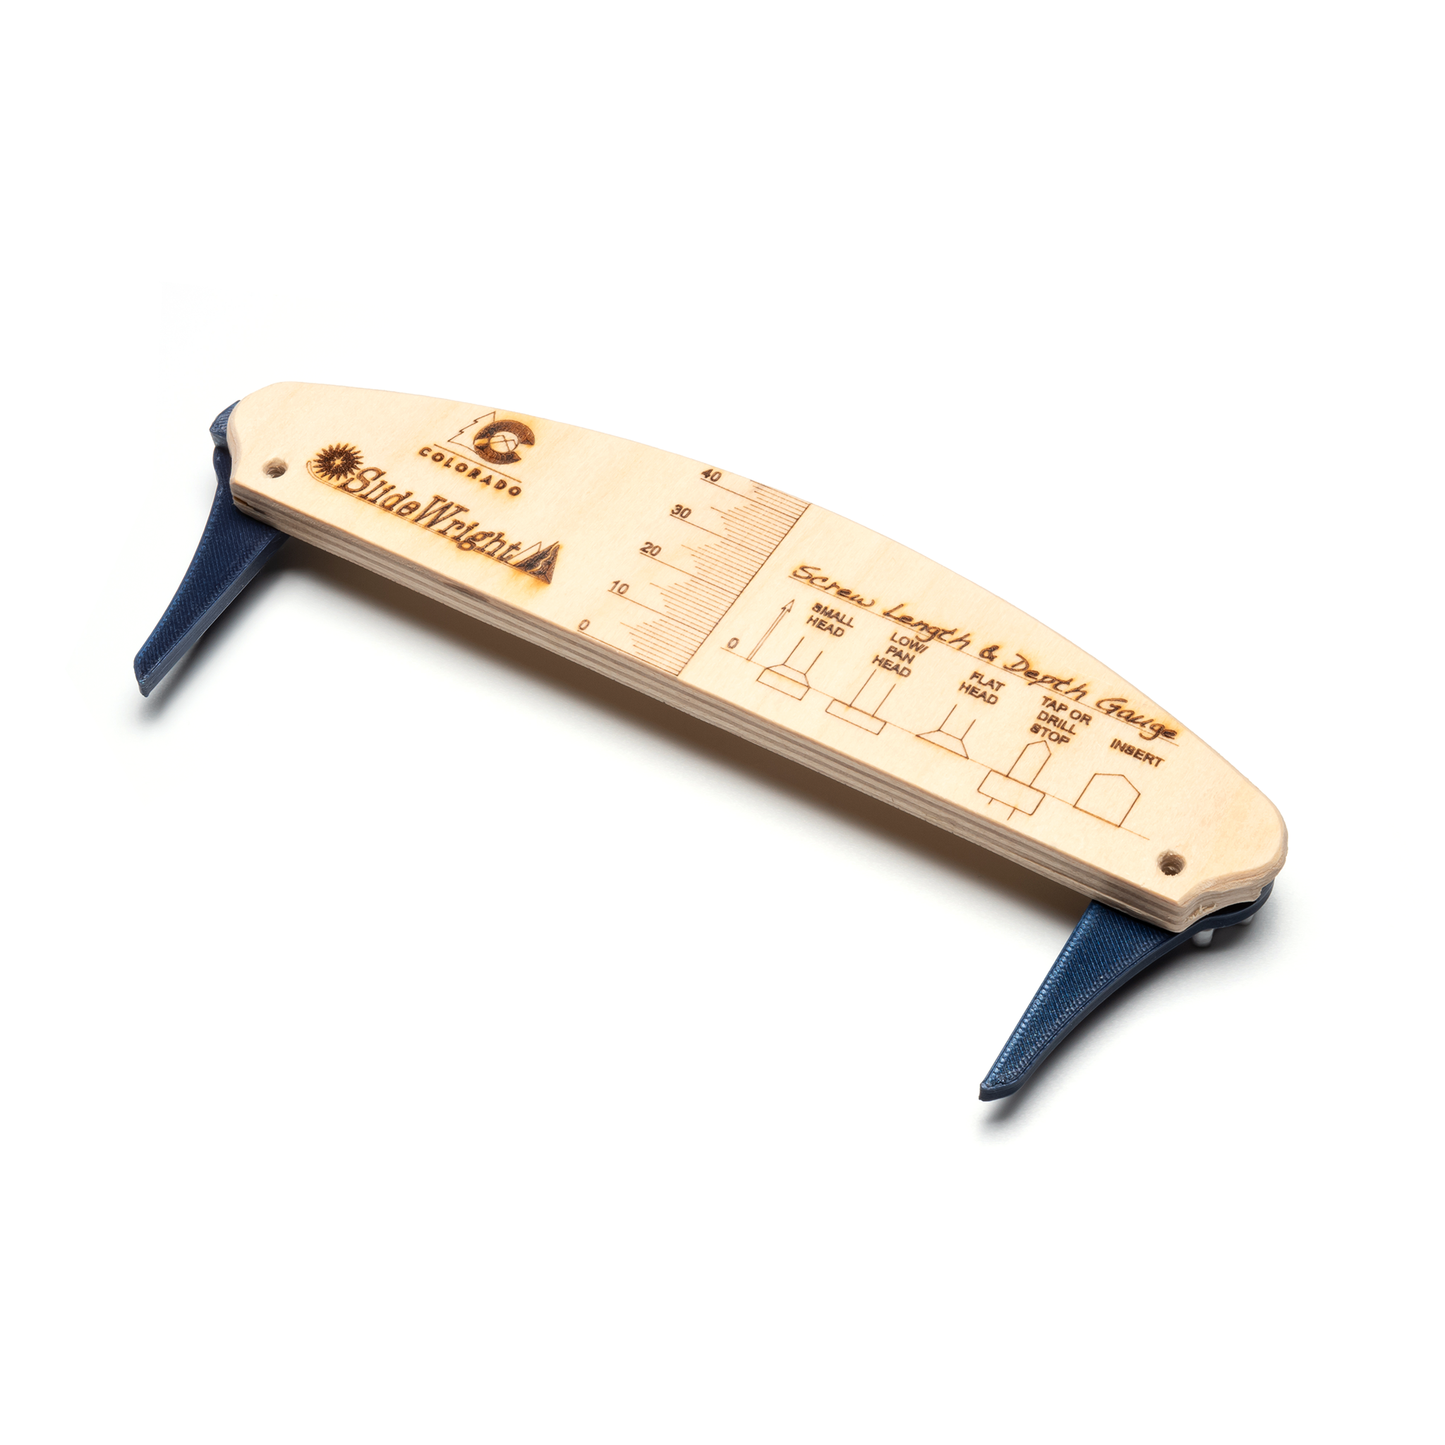
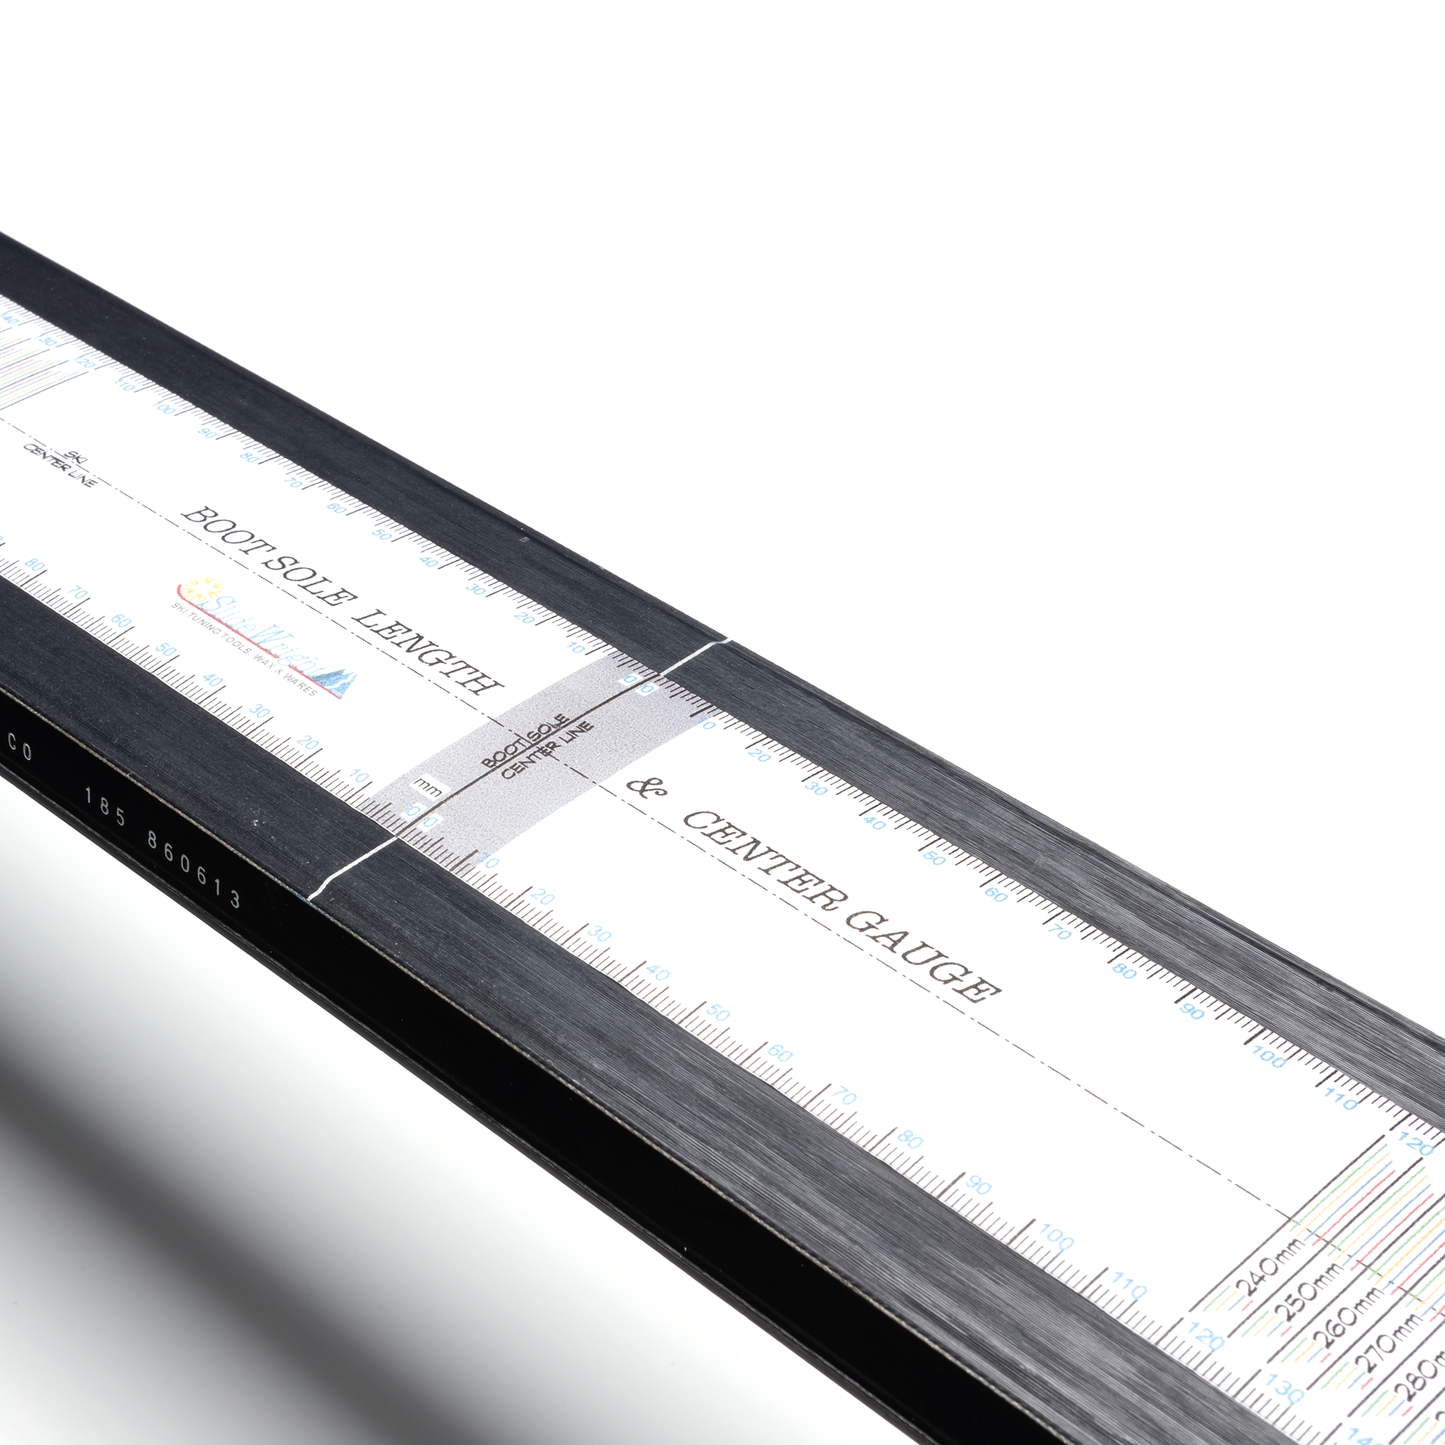
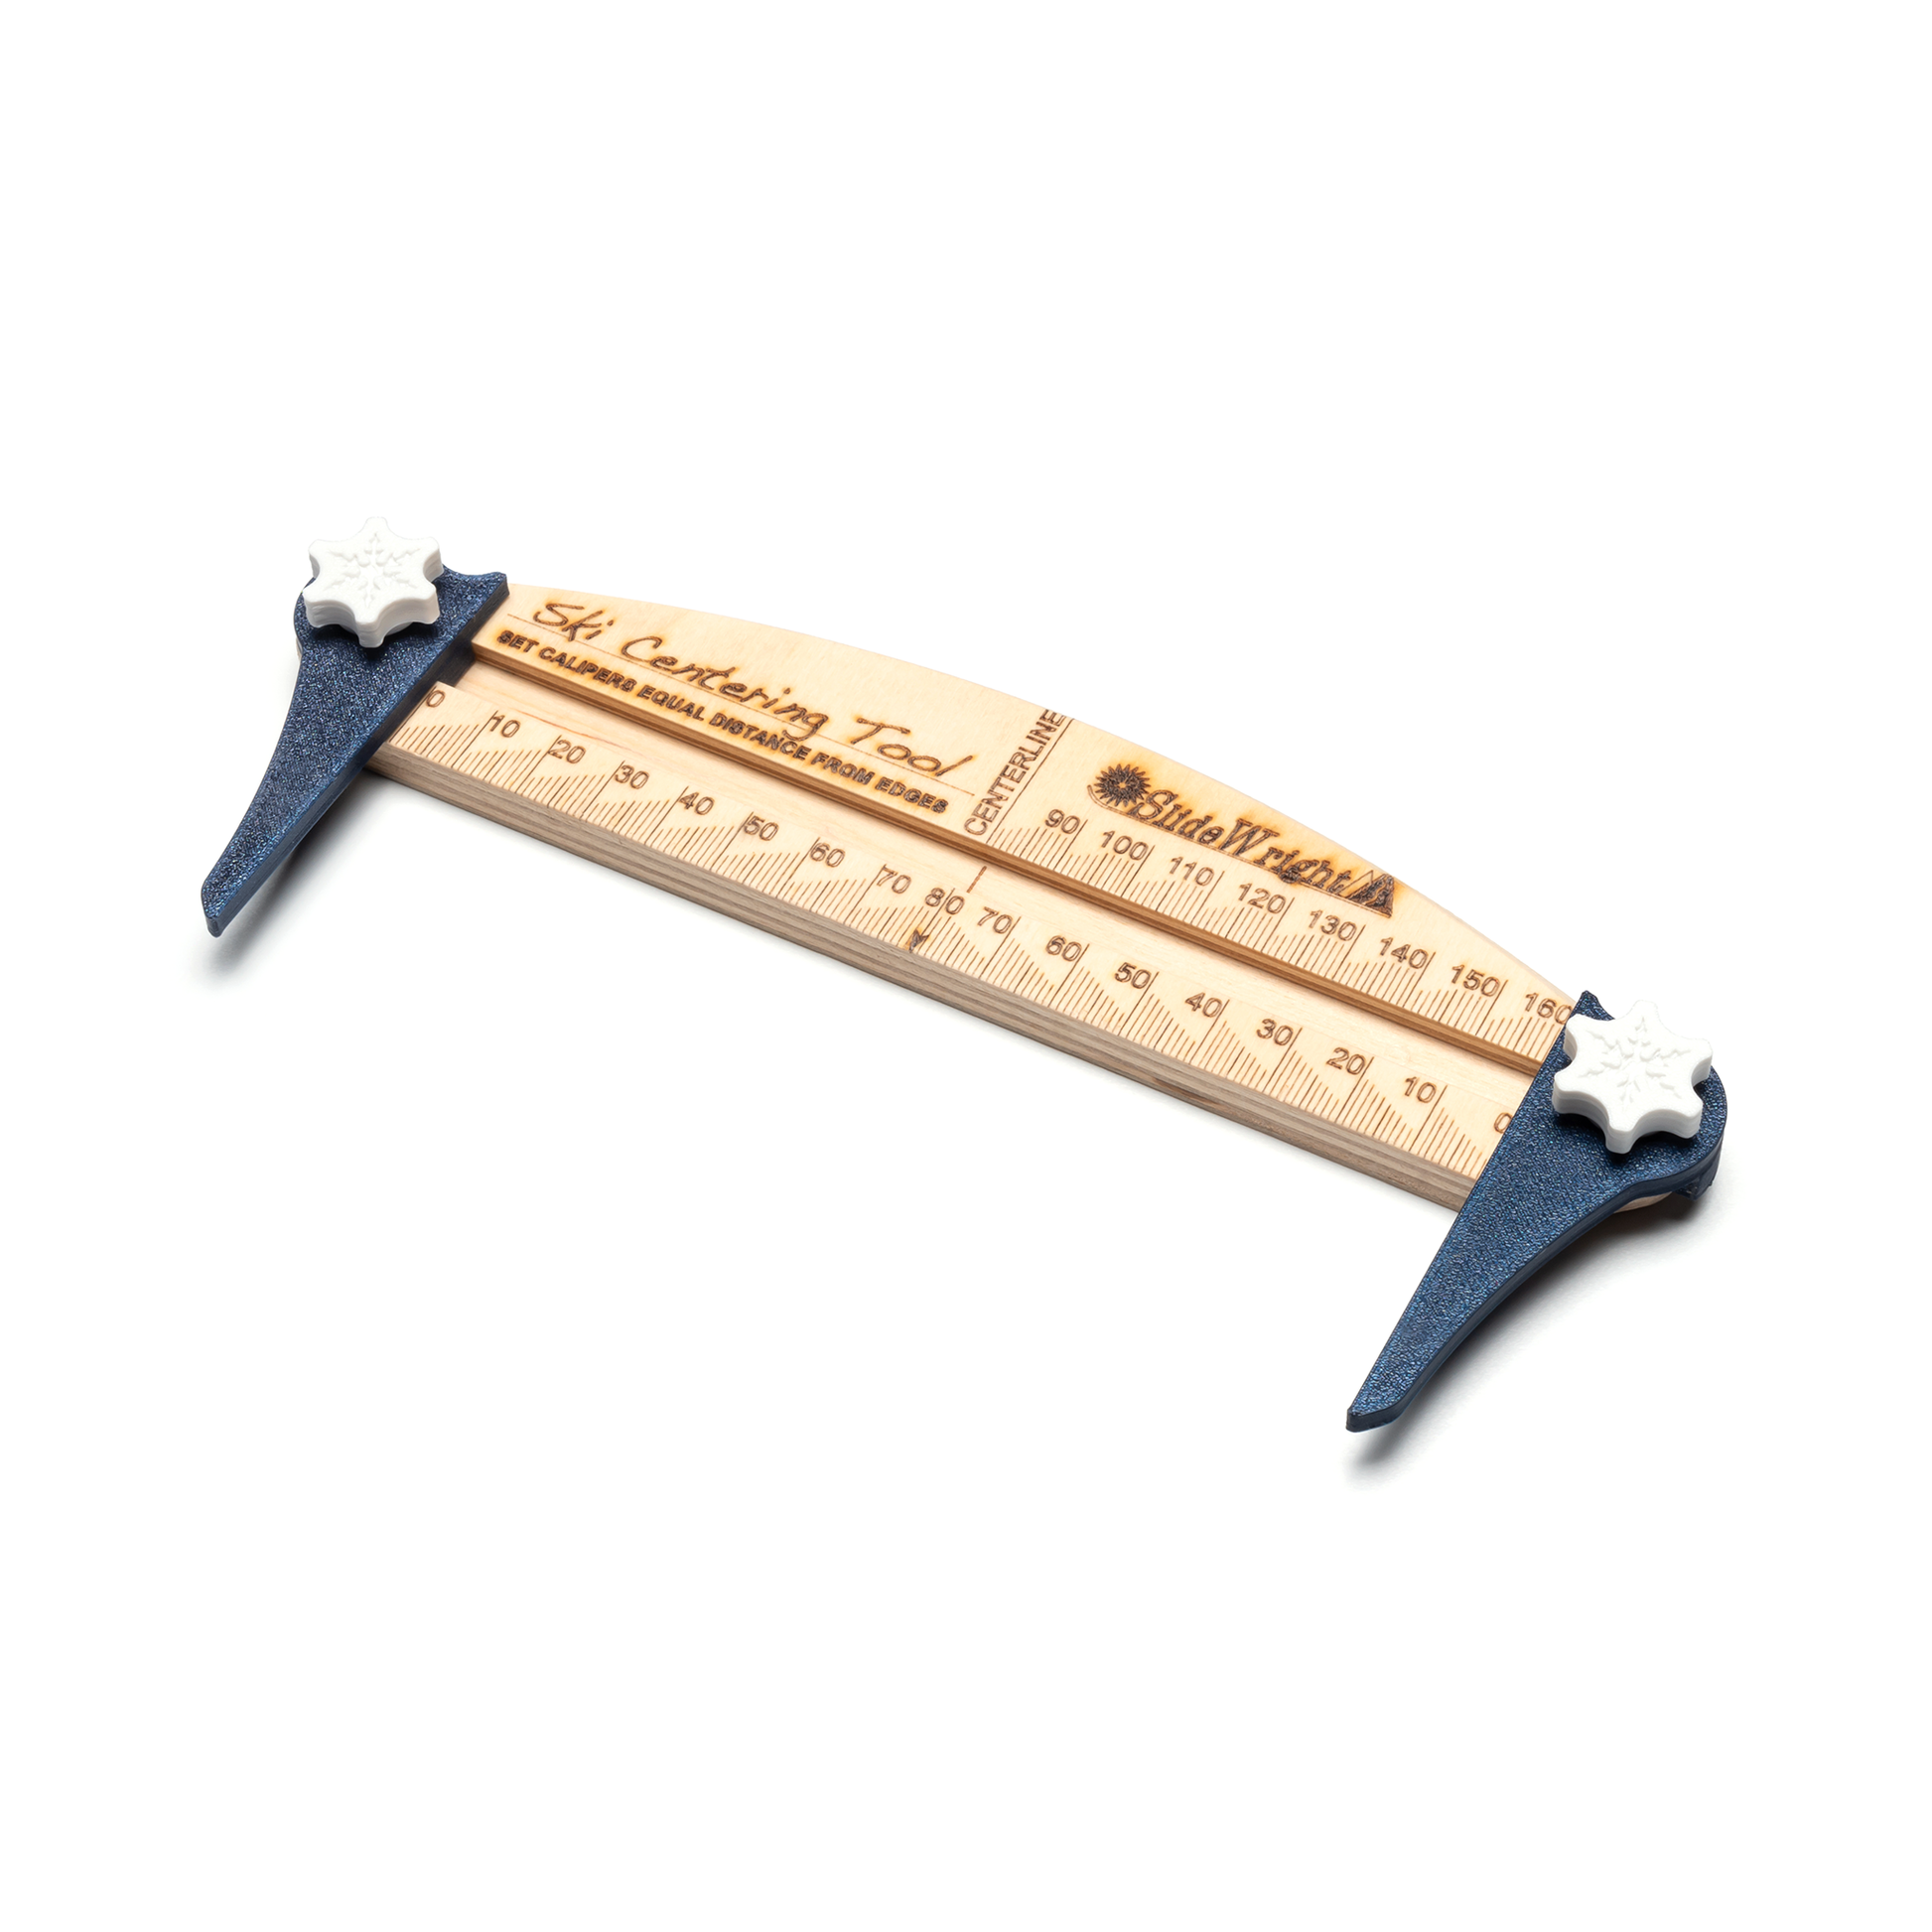
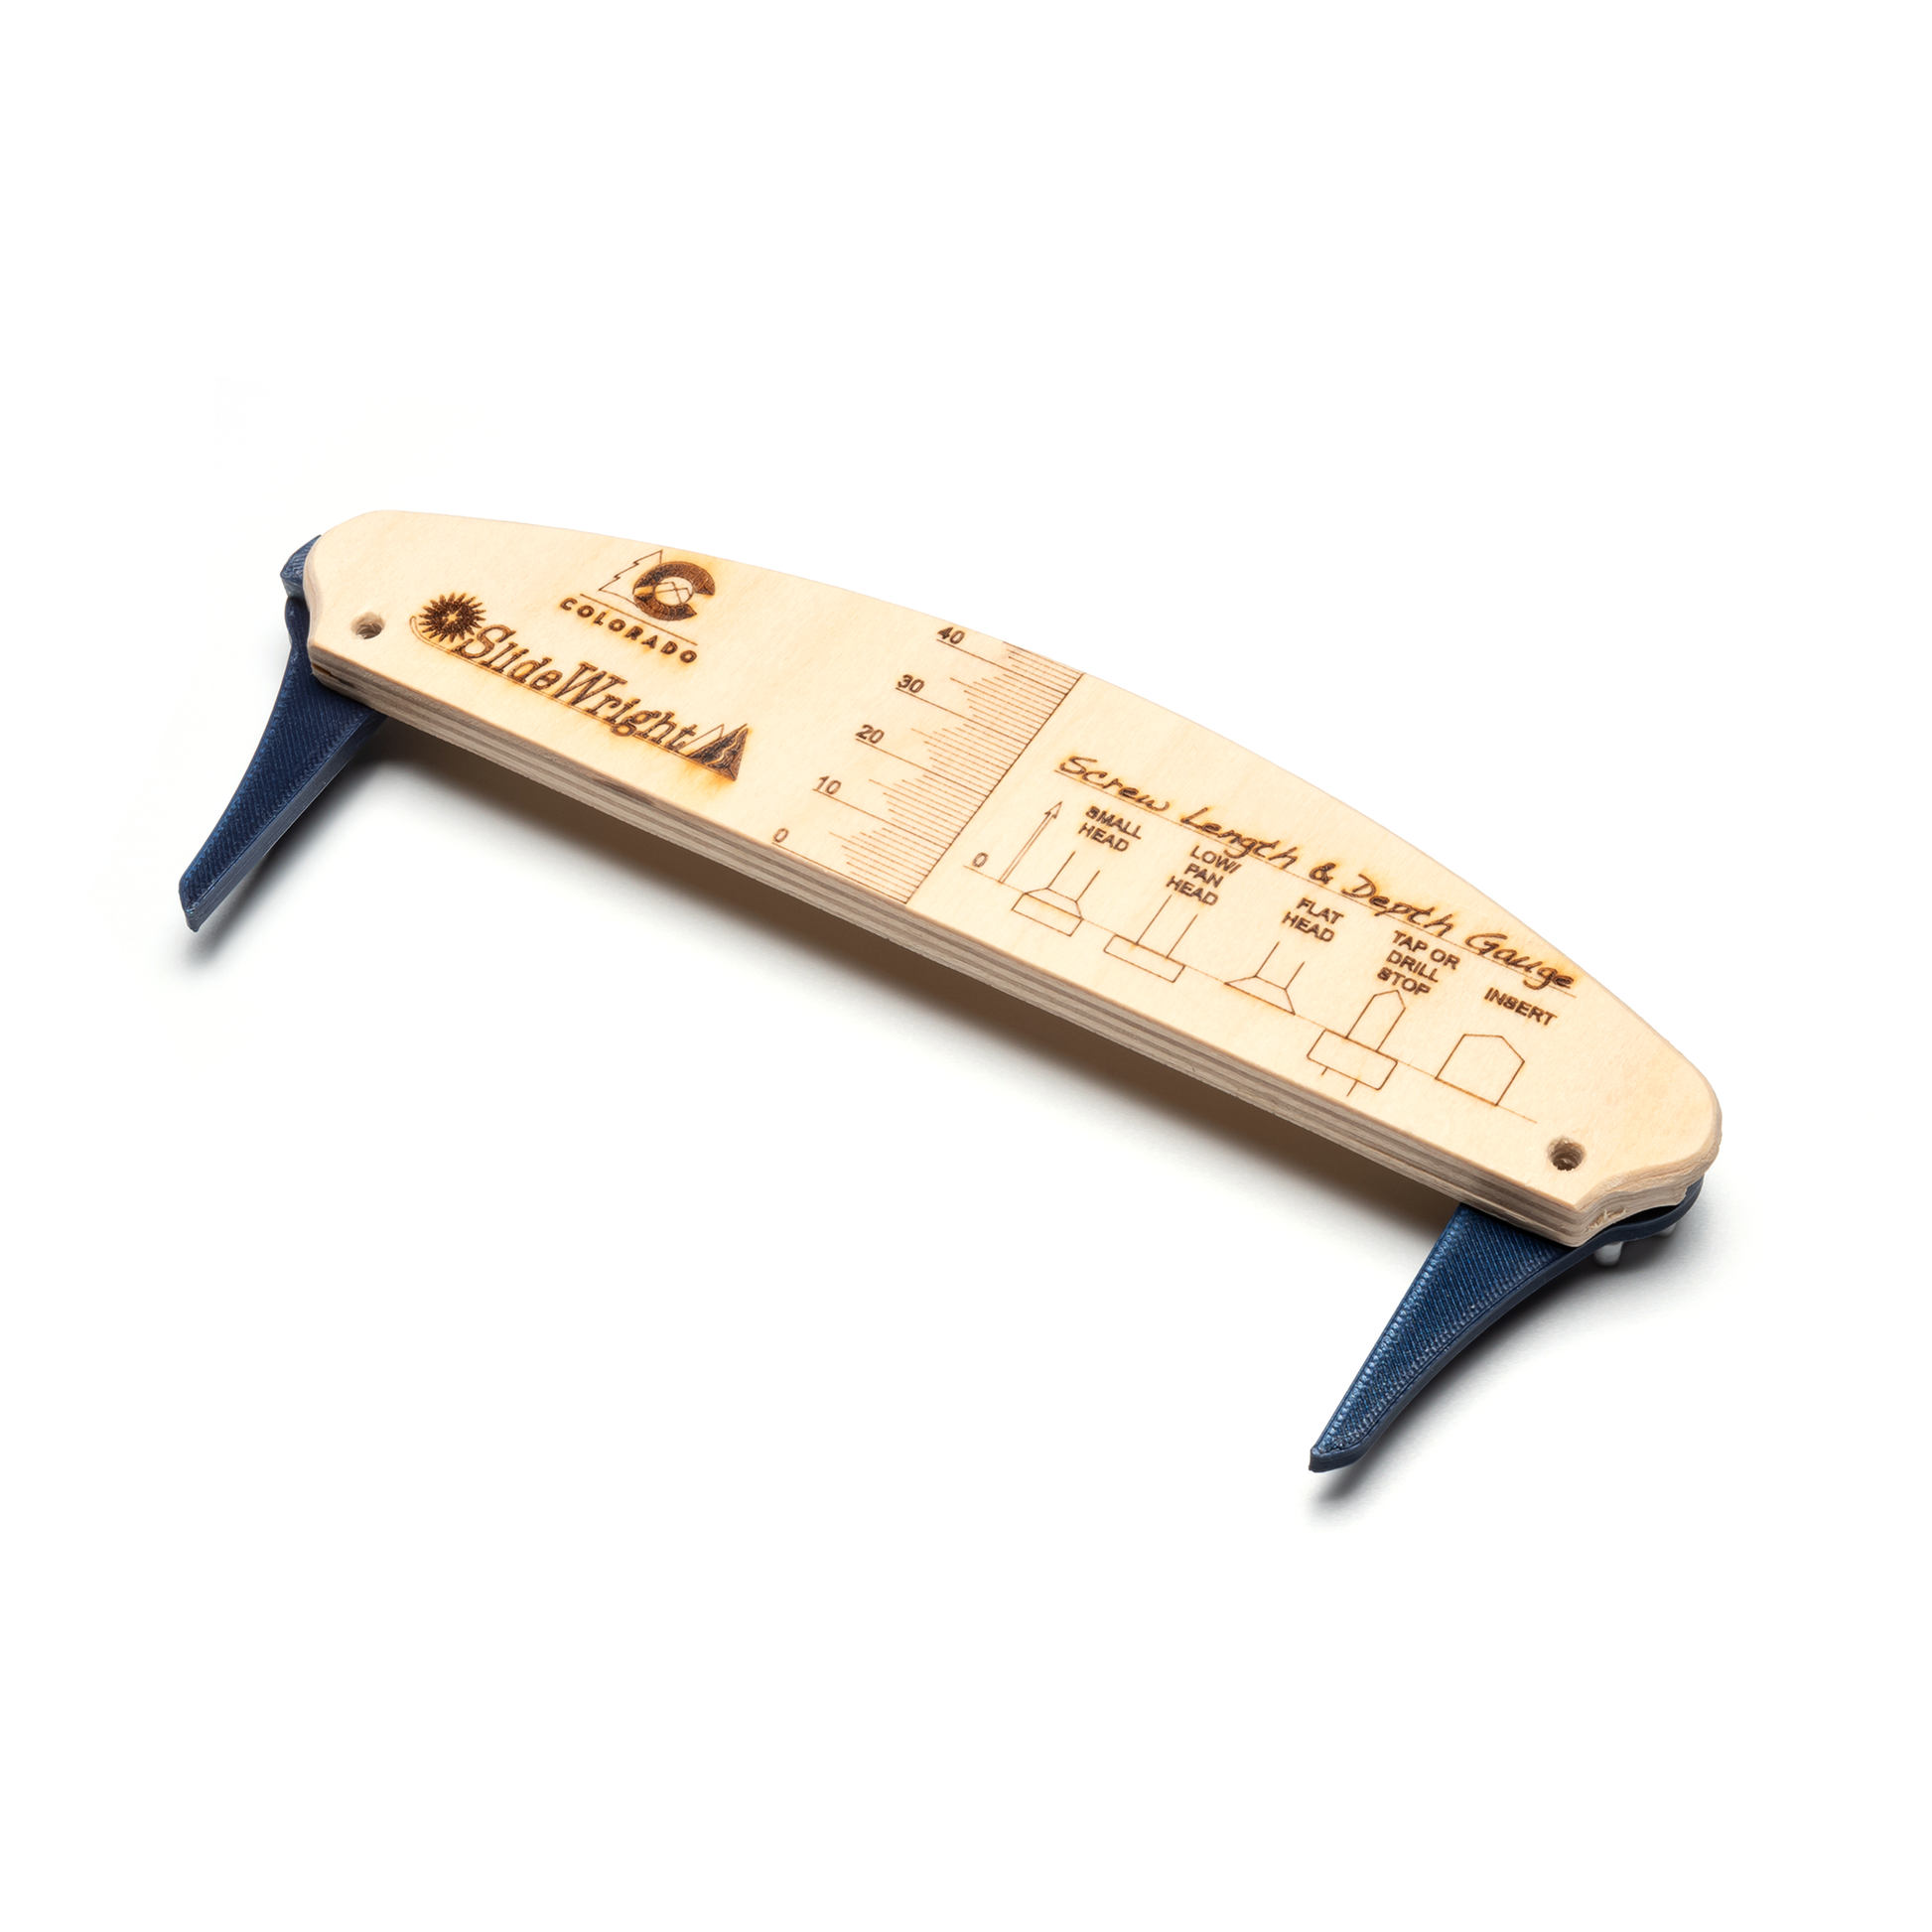
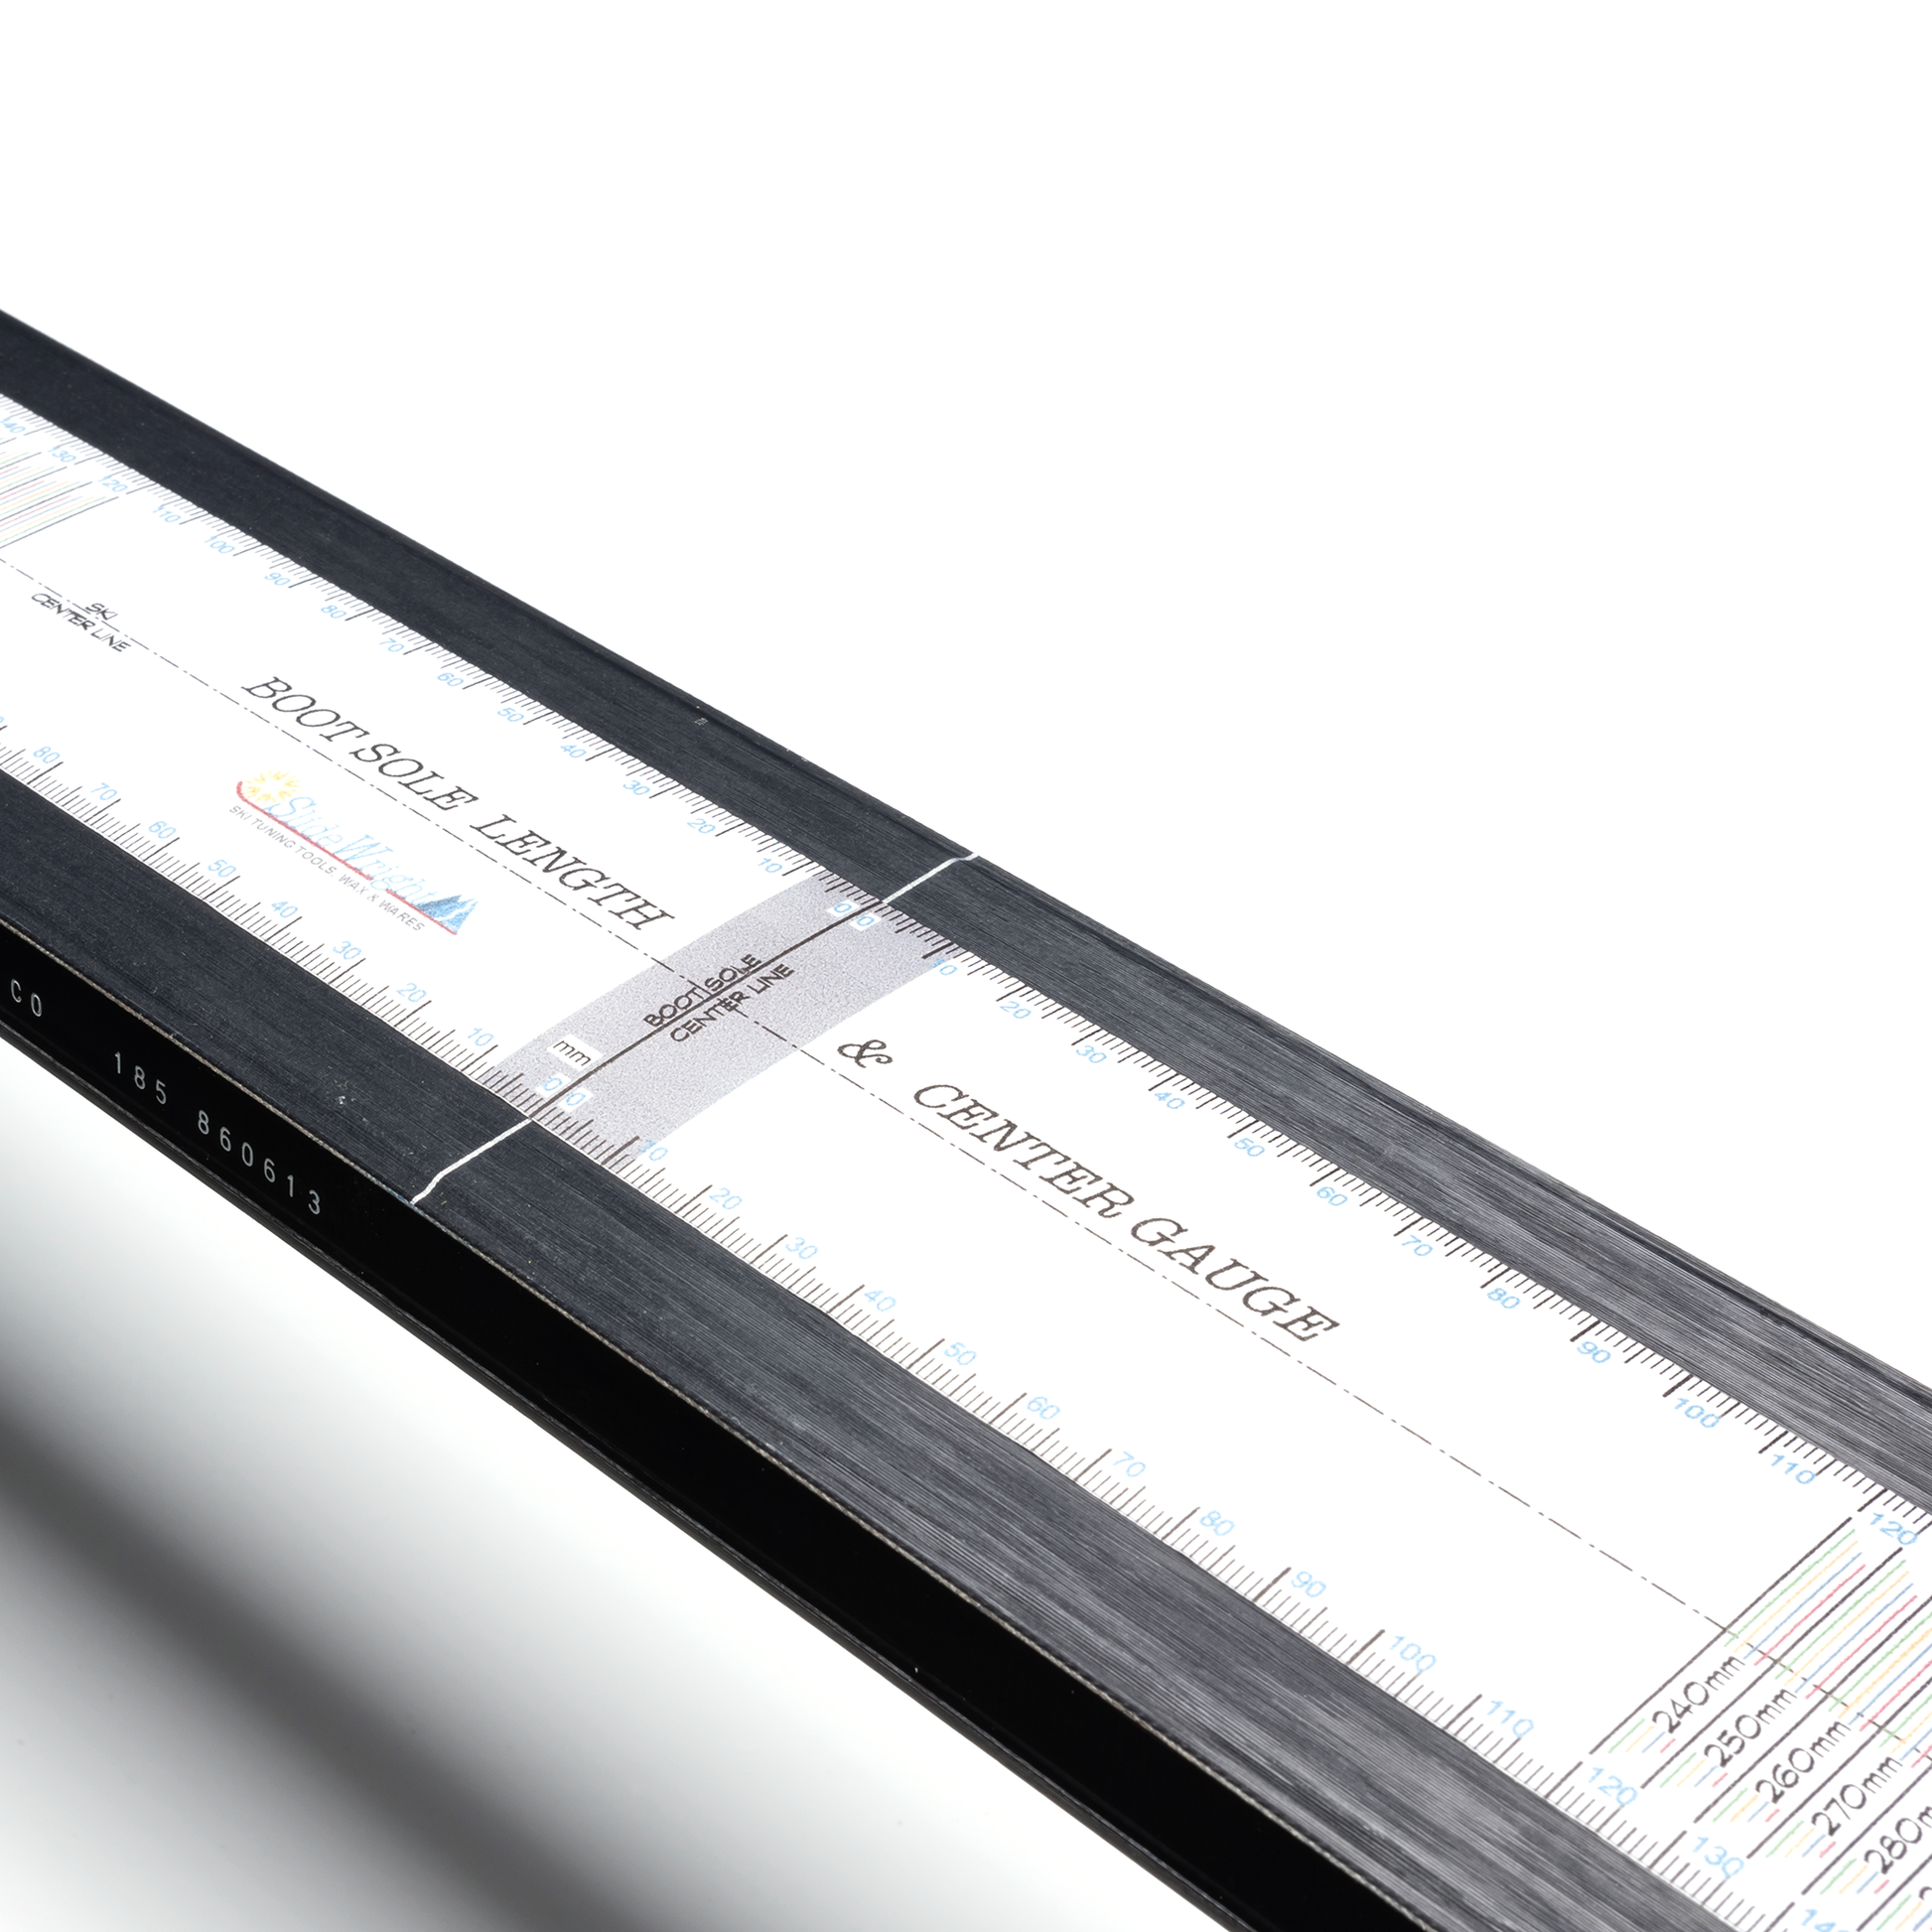
This is a dedicated caliper for finding the ski center of Baltic birch wood that has been CNC processed and laser processed, and the back side has the correct measurement method and scales for various screws. In addition, one BSL (Boot Sole Length & Centering Gauge) that is convenient for mounting the gauge (jig) is also included.
Even when using the gauge (jig) or JigaRex™ supplied by the binding manufacturer, it is difficult to mount the binding perfectly in the center of the ski, and due to the structure of the gauge (jig), there will be some misalignment of about 0.5 to 1.0 mm.
For example, if the extension of the vise point (where the ski is clamped) of the gauge (jig) is 75cm, did you know that a deviation of 0.01° will cause the gauge (jig) to deviate 0.65mm to the left or right if the center of the gauge (jig) is in the correct position, and that if only one of the vise points is correct, the other point will deviate 1.3mm from the center? Also, do we humans have the ability to detect such a small deviation of 0.01°?
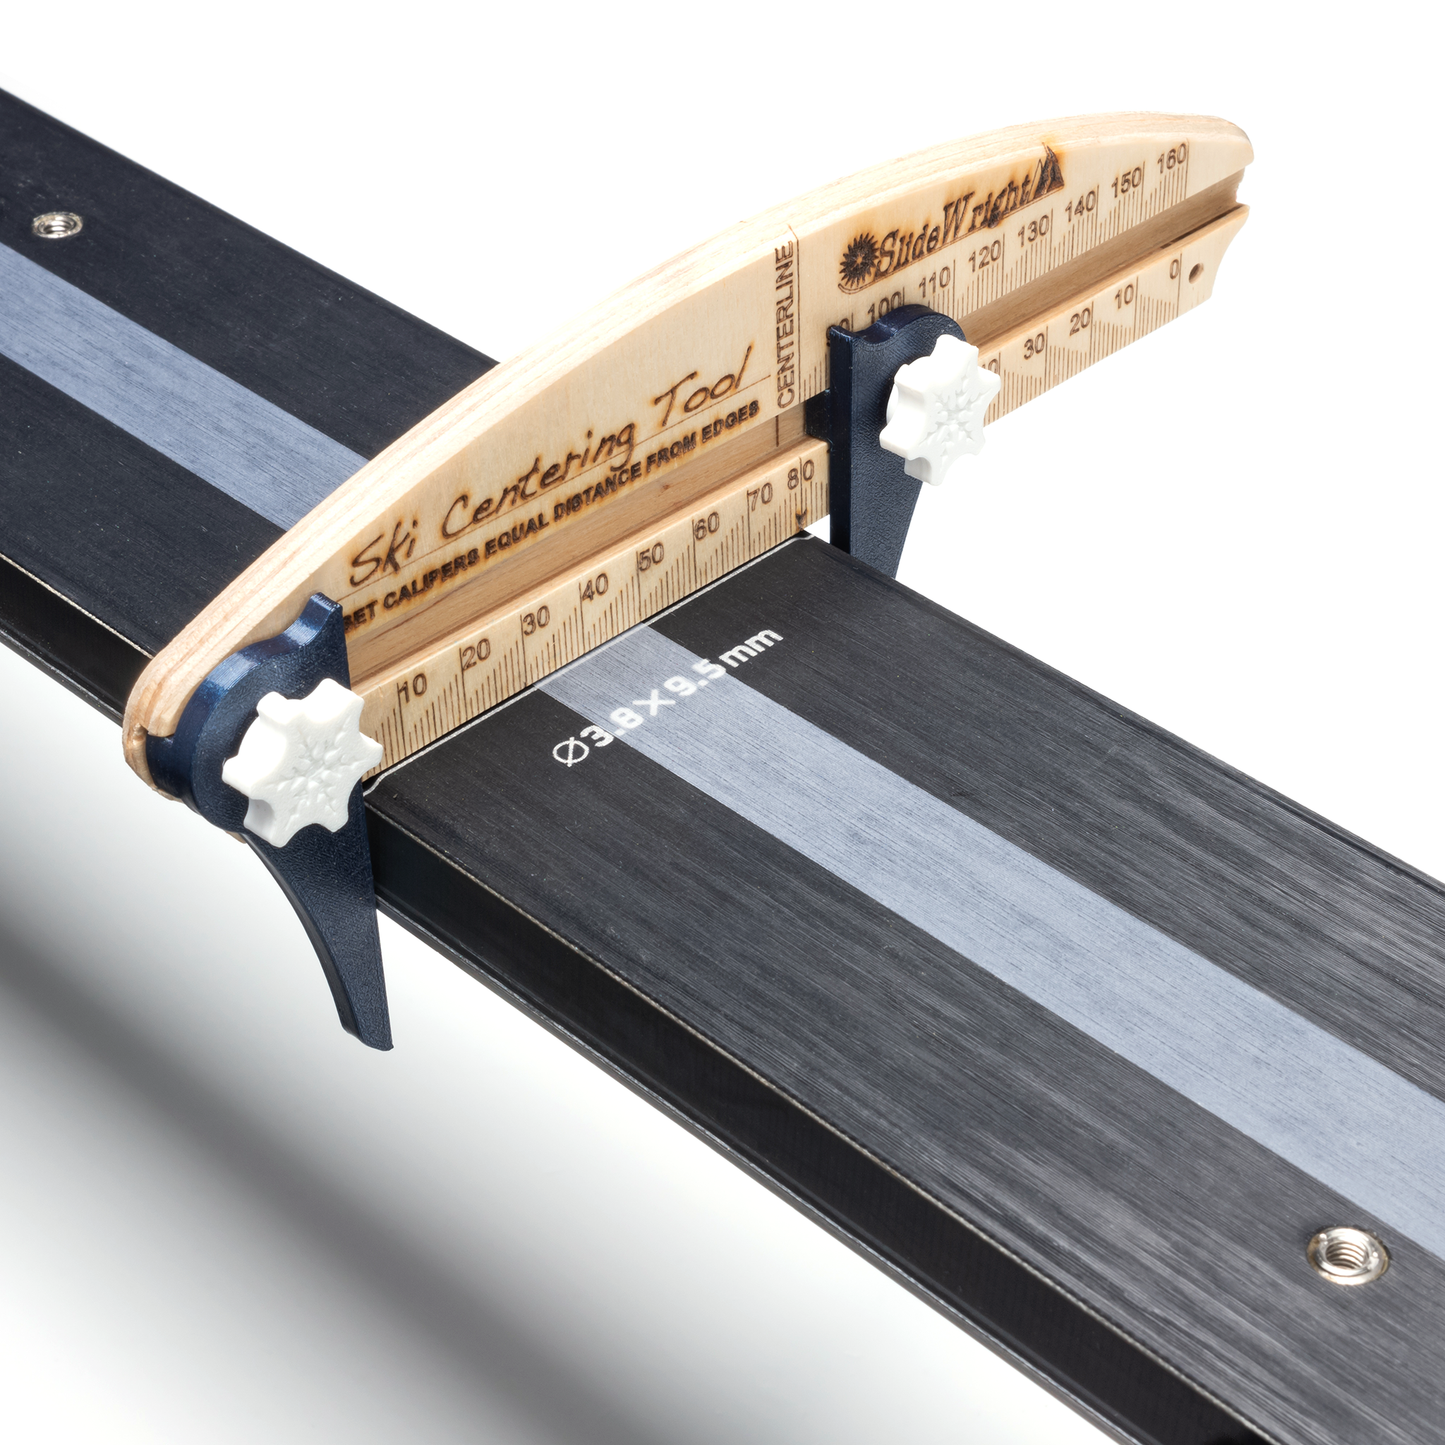
However, using this Wooden Ski Centering Tool & Calipers, you can always visually check the center of your skis by marking them on the skis and aligning them with the center of a gauge (jig).
For instructions on how to use, please read the "SlideWright Wood Ski Centering Tool & Calipers Manual" menu below on this page.
What's included
- Baltic birch tool body
- 3D printing left and right caliper jaws and handle knob
- BSL (Boot Sole Length & Centering Gauge) × 1
How to use SlideWright Wood Ski Centering Tool & Calipers
How to use SlideWright Wood Ski Centering Tool & Calipers
*If the caliper jaws on the left and right sides of the tool move even when tightened, there is a problem with the position of the nut on the back of the handle knob. Disassemble the handle knob once and make a fine adjustment so that the flat surface of the nut and the screw are horizontal and touch the groove when the handle knob is tightened.
*It would take a long time to explain in words, but once you get used to the actual work, you will be able to get the center working quickly.
1. Apply masking tape or semi-transparent mending tape to the approximate center of the top sheet of the ski (vertical center) .
When using BSL, attach masking tape to the four corners of the BSL and stretch it so that there is no sagging. At this time, align only the center of the horizontal position of the ski and ignore the vertical position deviation.

2. Find out the center width of the ski from the catalog specifications. Example: Center width 85mm
3. Next, turn the handle knob to set the inside of the left caliper jaw to the 0 mm position on the main body.
4. Set the handle knob so that the right caliper jaw is at the center width position of the catalog specifications. Example: 85mm
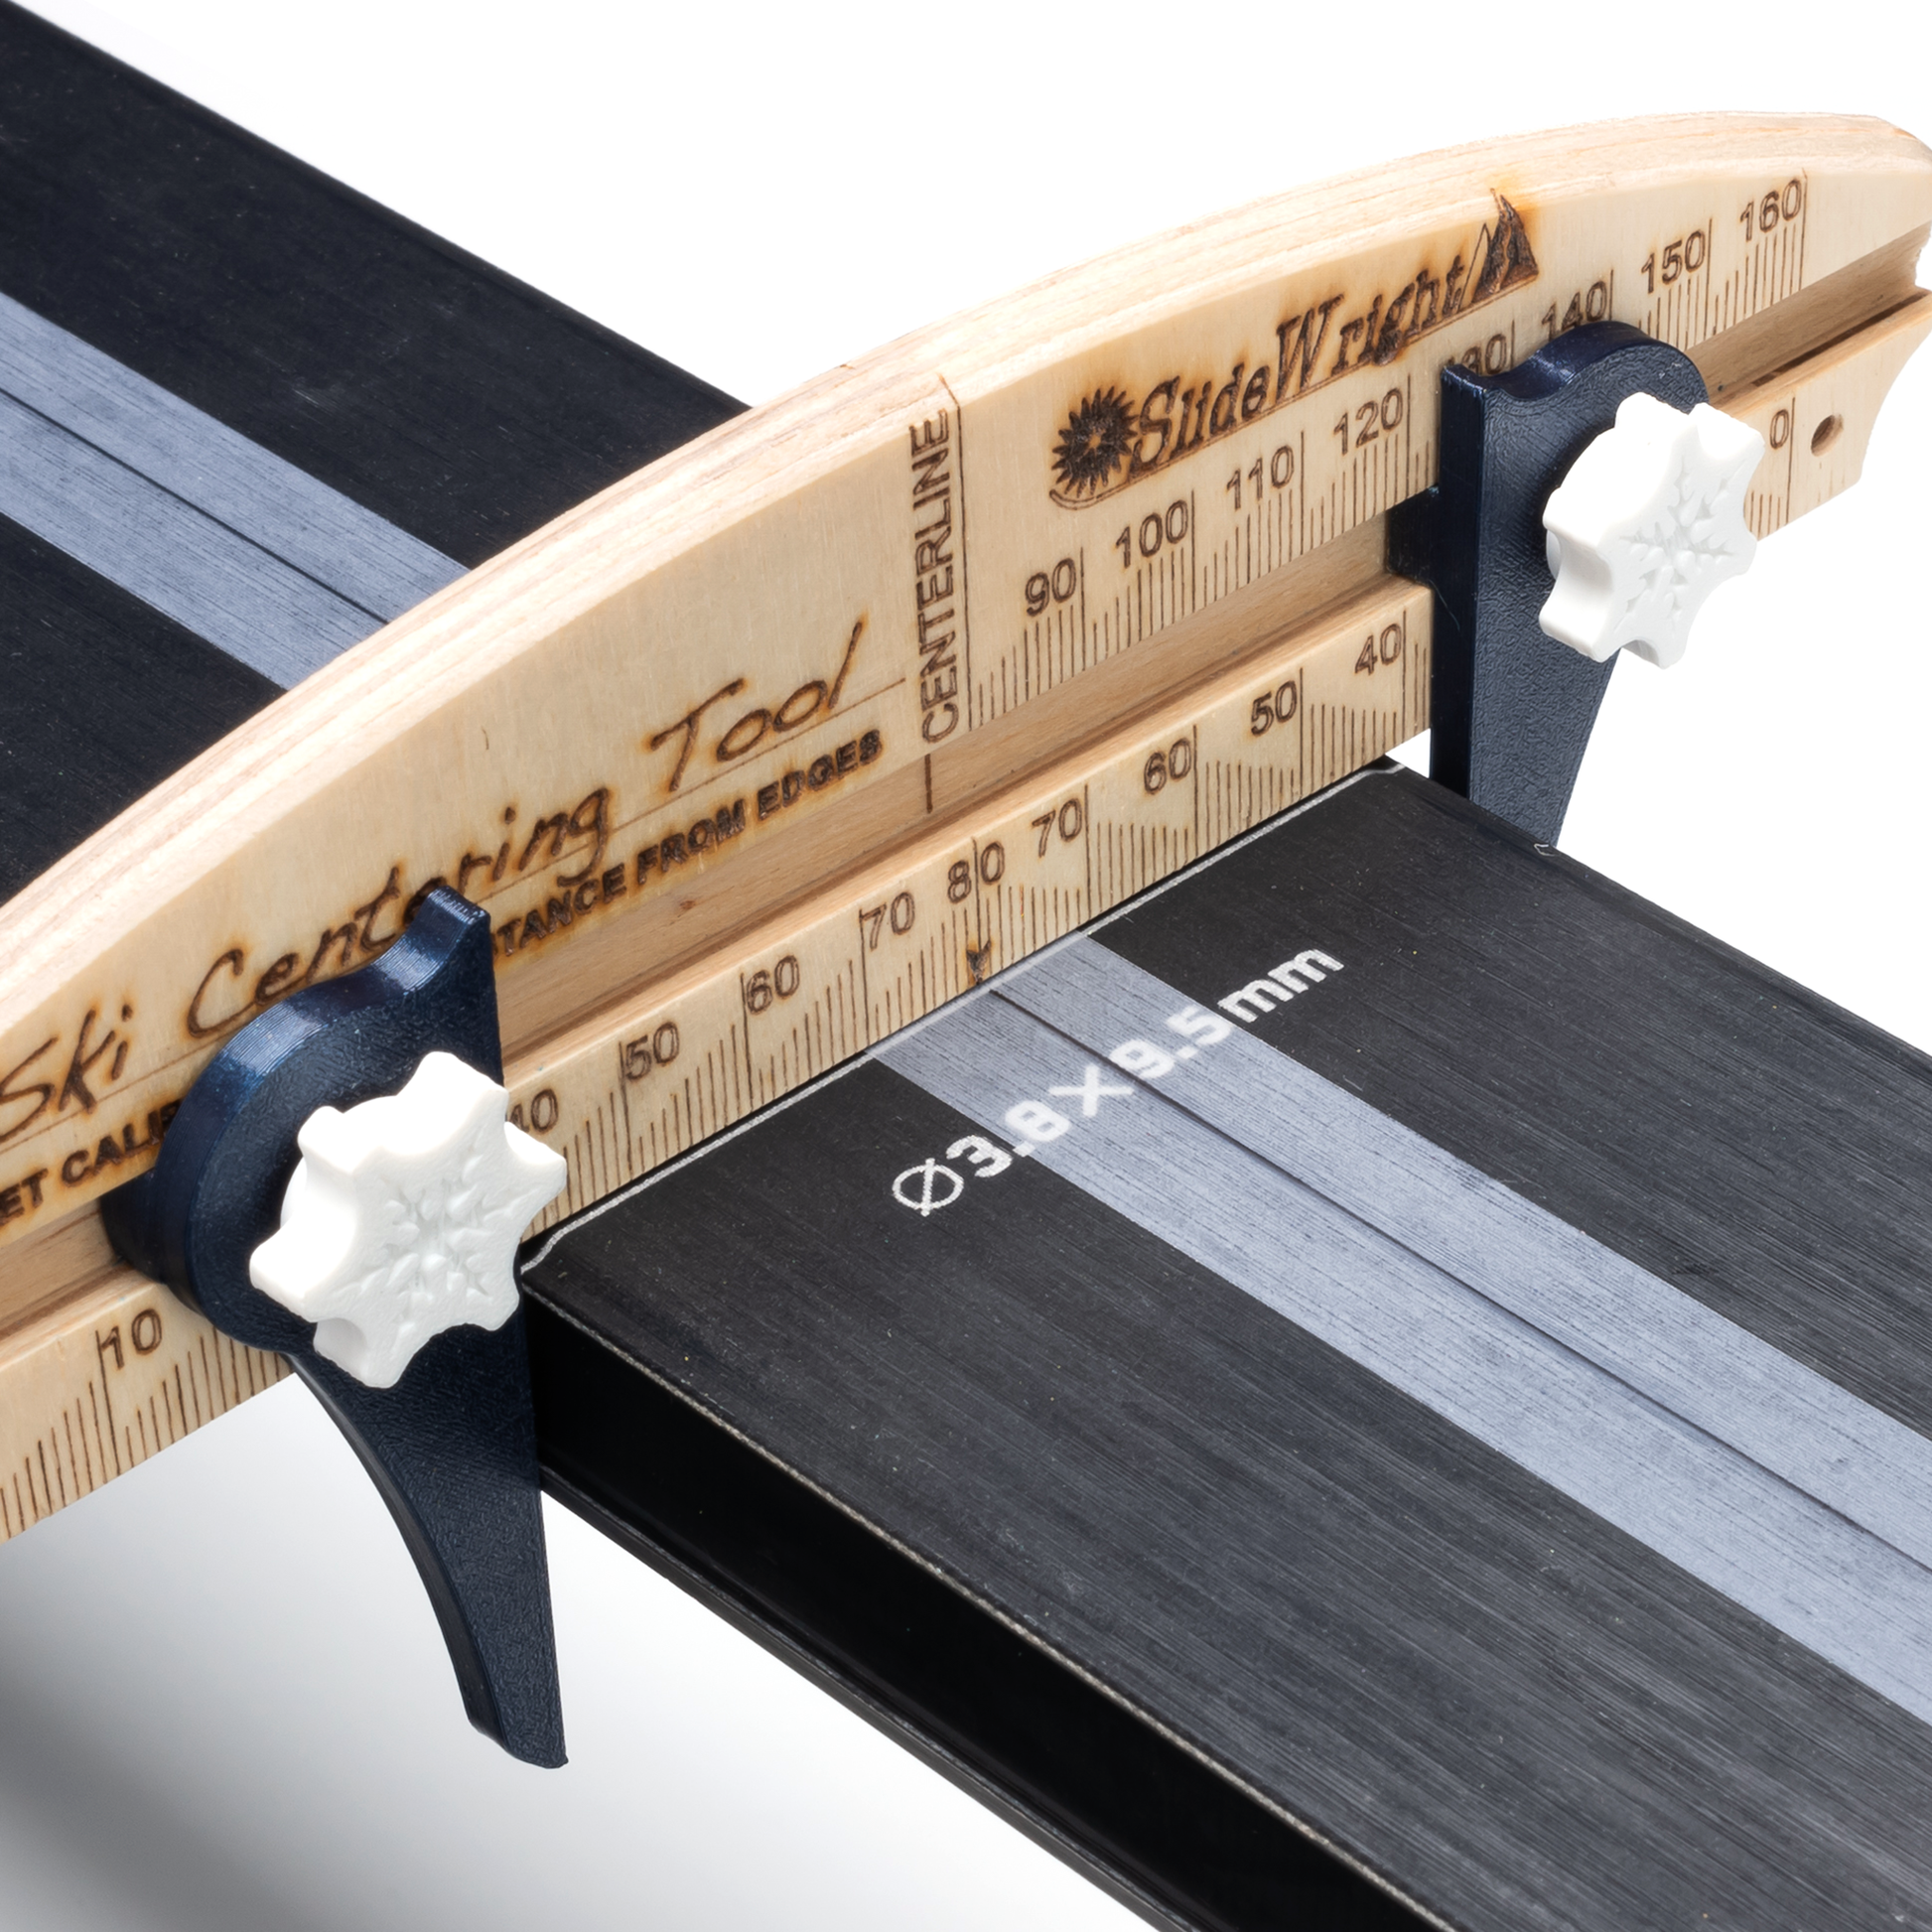
5. Rather than clamping the tool onto the ski once along the center position of the ski, gently fit it from above and determine whether the center width is according to the catalog specifications or if there is a slight error. If the tool width is set correctly and the ski's catalog specifications are accurate, the tool will go in smoothly (slippery) when fitted from above. Remember this feeling.
* Be careful not to push too hard as the caliper jaws may slide.

6. If the tool does not go in properly at this step, or goes in but is loose, then either the tool is not set correctly or the catalog specs are not accurate. Catalog specs for skis are written in whole numbers only, not decimals.
7. Remove the tool and check that it is still aligned with the set scale. If it is not aligned, repeat steps 3 and 4.
8. Divide the scale value measured from 0mm to the inside of the right caliper jaw into two. Example: 85mm ÷ 2 = 42.5mm
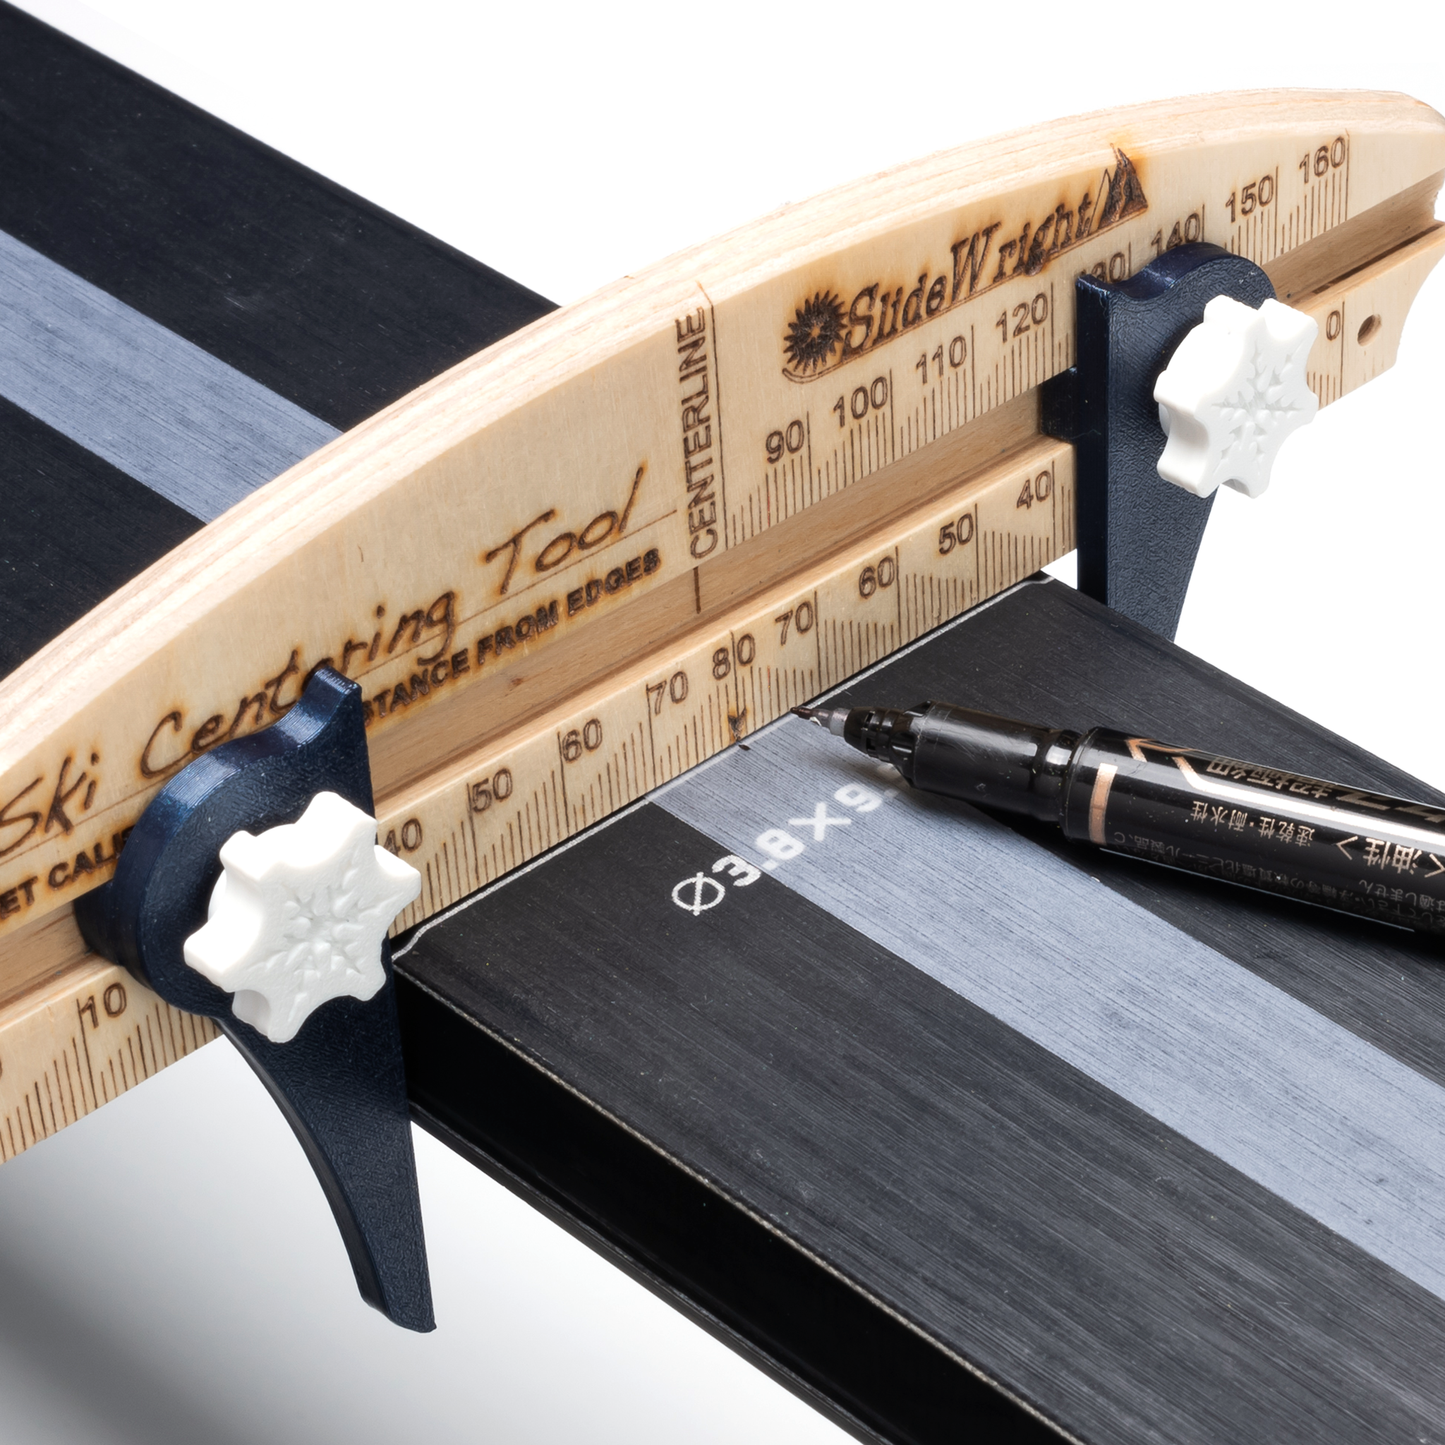
9. Tighten the knob by subtracting the value found in step 8 from the point marked "CENTER LINE" on the tool at 80 mm on both sides. Example: 80 mm - 42.5 mm = 37.5 mm. Set the inside of the left and right caliper jaws at 37.5 mm on the left and right.
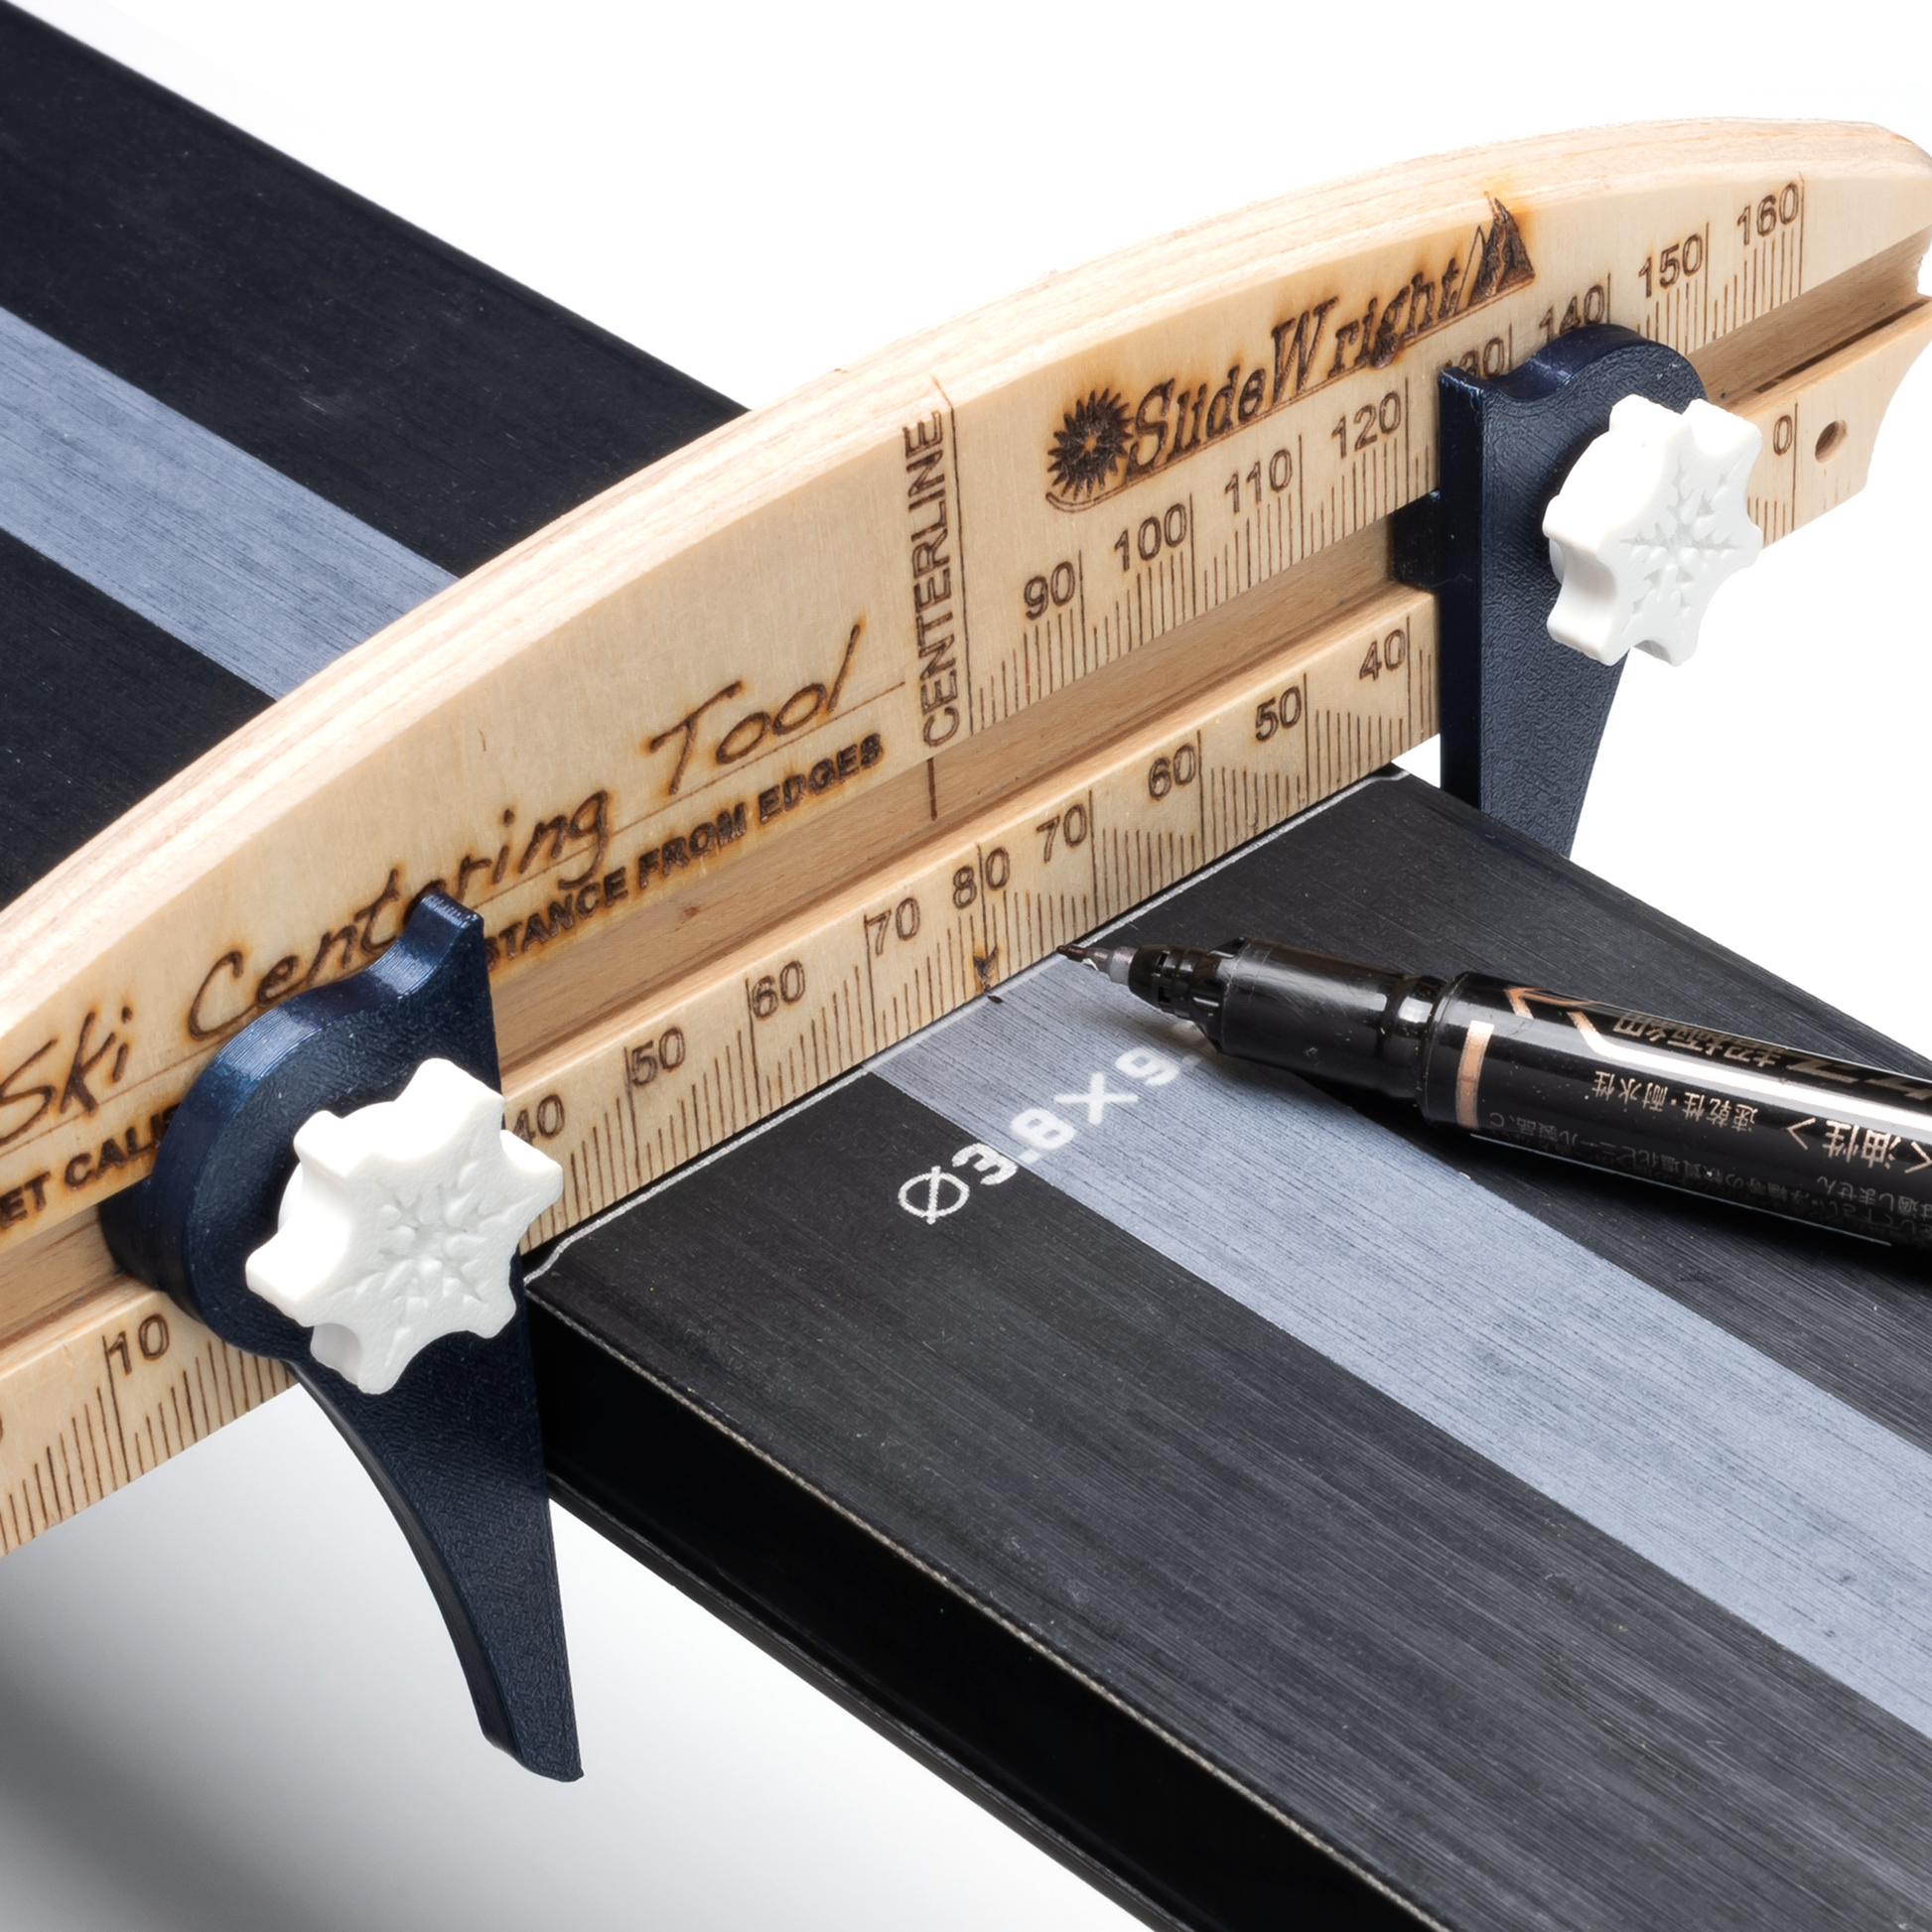
10. Insert the tool again along the lateral center of the ski and mark a point on the tape at the 80mm mark on the tool's scale that says "CENTER LINE".

When using the BSL, remove the masking tape from the four corners to allow it to move freely, and align the vertical center of the BSL with the 80mm point on the tool's scale marked "CENTER LINE". Then, if the binding's mounting position is the factory recommended center, align it with the BSL's "BOOTS SOLE CENTER LINE". If you want to mount the binding forward of the factory recommended center, slide the desired length toward the nose (top) side according to the BSL scale. If you want to mount the binding behind the factory recommended center, slide the desired length toward the tail side according to the BSL scale. Secure the left and right sides of the BSL with masking tape.
11. Pull out the tool and set the inside of the left caliper jaw to 0 mm on the body. Leave the right caliper jaw slid to the right end in a free state (freely moving state).
12. Place the tool on the nose (top) of the ski, about 50 cm from the factory recommendation center. Slide the caliper jaw on the right side and tighten the knob.
13. Remove the tool and divide the measurement value from 0mm to the inside of the right caliper jaw by two. Example: 106mm ÷ 2 = 53mm
14. Tighten the knob by subtracting the value obtained in step 11 from the point marked "CENTER LINE" at 80mm on the tool. Example: 80mm - 53mm = 27mm Set the inside of the left and right caliper jaws at 27mm on the left and right.
15. Gently insert the tool from above in the same position as in step 10 again, and check that the tool goes in smoothly with the same feeling you felt in step 5. If it does not go in or there is any wobble, find a place from the front to the back where it can go in smoothly, and then insert the tool.
* Be careful not to push too hard as the caliper jaws may slide.
16. Mark a point on the tape at the 80mm mark on the tool's scale that says "CENTER LINE".
When using a BSL, align the vertical center of the BSL with the point marked "CENTER LINE" at 80 mm on the tool scale and secure the BSL in place with masking tape.
17. Repeat from step 9 for the tail side.
18. To check the position again, set the inside of the left caliper jaw to 0 mm on the main body, place it on the measured point, and check that the point marked "CENTER LINE" at 80 mm on the tool matches the center you found.
19. If you are using masking tape or mending tape, use a thin, flexible ruler (at least 50cm) to connect the dots and draw a straight line.
*Please note that drawing lines with a stiff ruler will result in failure due to the relationship between camber, rocker, flex and torsion.
Tip:
To find the center position more quickly, apply the above procedure and roughly measure a similar width position on the nose or tail side other than the boot center, then divide that value and make the measurement on the caliper first . Then, mark the point where you get a smooth feeling when you fit it from above. However, be especially careful not to let the caliper jaws slide outward. In any case, you cannot find the center unless you find at least three points accurately. Also, if you use masking tape or translucent mending tape, you can easily see whether the three points you found are bent by stretching a string over the center line and comparing it.


Shipping costs (flat rate of ¥385 nationwide)
Shipping costs (flat rate of ¥385 nationwide)
Nekopos
Nationwide flat rate of ¥385 (Japan only)
The item will be delivered to your mailbox. (Delivery date and time cannot be specified.)
Free shipping for purchases over ¥30,000 (some products excluded).
Share
